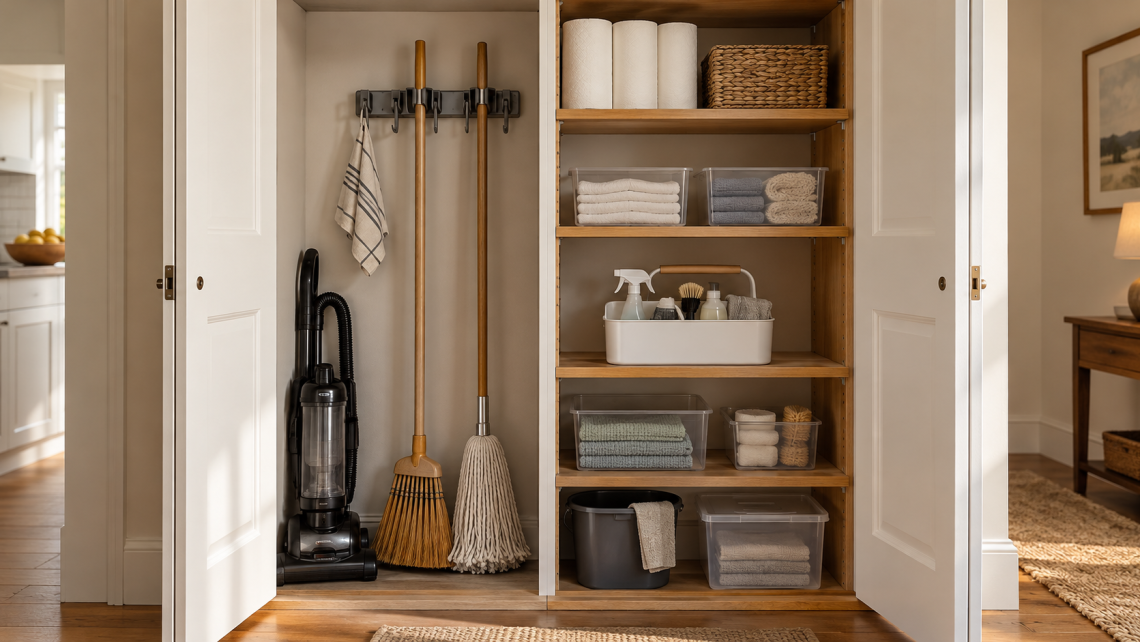
Utility closet organization is easy to put off until the broom falls out, the vacuum is trapped behind a bucket and the spare sponges have vanished again. The problem is often the layout: tall tools, small accessories and bulky refills all need different kinds of storage.
These 21 utility closet organization ideas give those everyday essentials a clear home. Start with the tools you reach for most, then build the shelves and smaller storage around them.
This guide is for a household storage closet. If your cupboard also contains a boiler, water heater or electrical panel, keep the required access and clearances specified for that equipment.
The interior images in this post are AI-generated styling concepts for inspiration. Product-linked concepts are not product photographs, and exact colours, finishes, proportions and details may differ from the linked items.
As an Amazon Associate I earn from qualifying purchases.
How to Organize a Utility Closet Before Buying Storage
Take everything out, set aside items that no longer belong here and group what remains by job. Measure the cupboard opening, shelf depth and tallest tools before choosing bins or moving shelves.
Start with a clear floor bay for the vacuum, a reachable home for daily supplies and a separate area for refills. These utility closet storage ideas work best when each item can be lifted out without moving something else first.
1. Give the Vacuum Its Own Parking Space

A utility closet becomes frustrating when the vacuum sits behind a stack of bags or has to be lifted over the mop bucket. Start by giving your largest everyday cleaning tool a clear patch of floor directly inside the opening.
Measure the vacuum with its head attached, then allow enough space to pull it out without tilting it into the shelves. If you use a cordless model, check whether its wall bracket can be installed securely at a comfortable height.
Keep this parking space empty when the vacuum is in use. Once spare parcels start landing there, the whole closet becomes harder to put back together.
2. Get Brooms and Mops Off the Floor
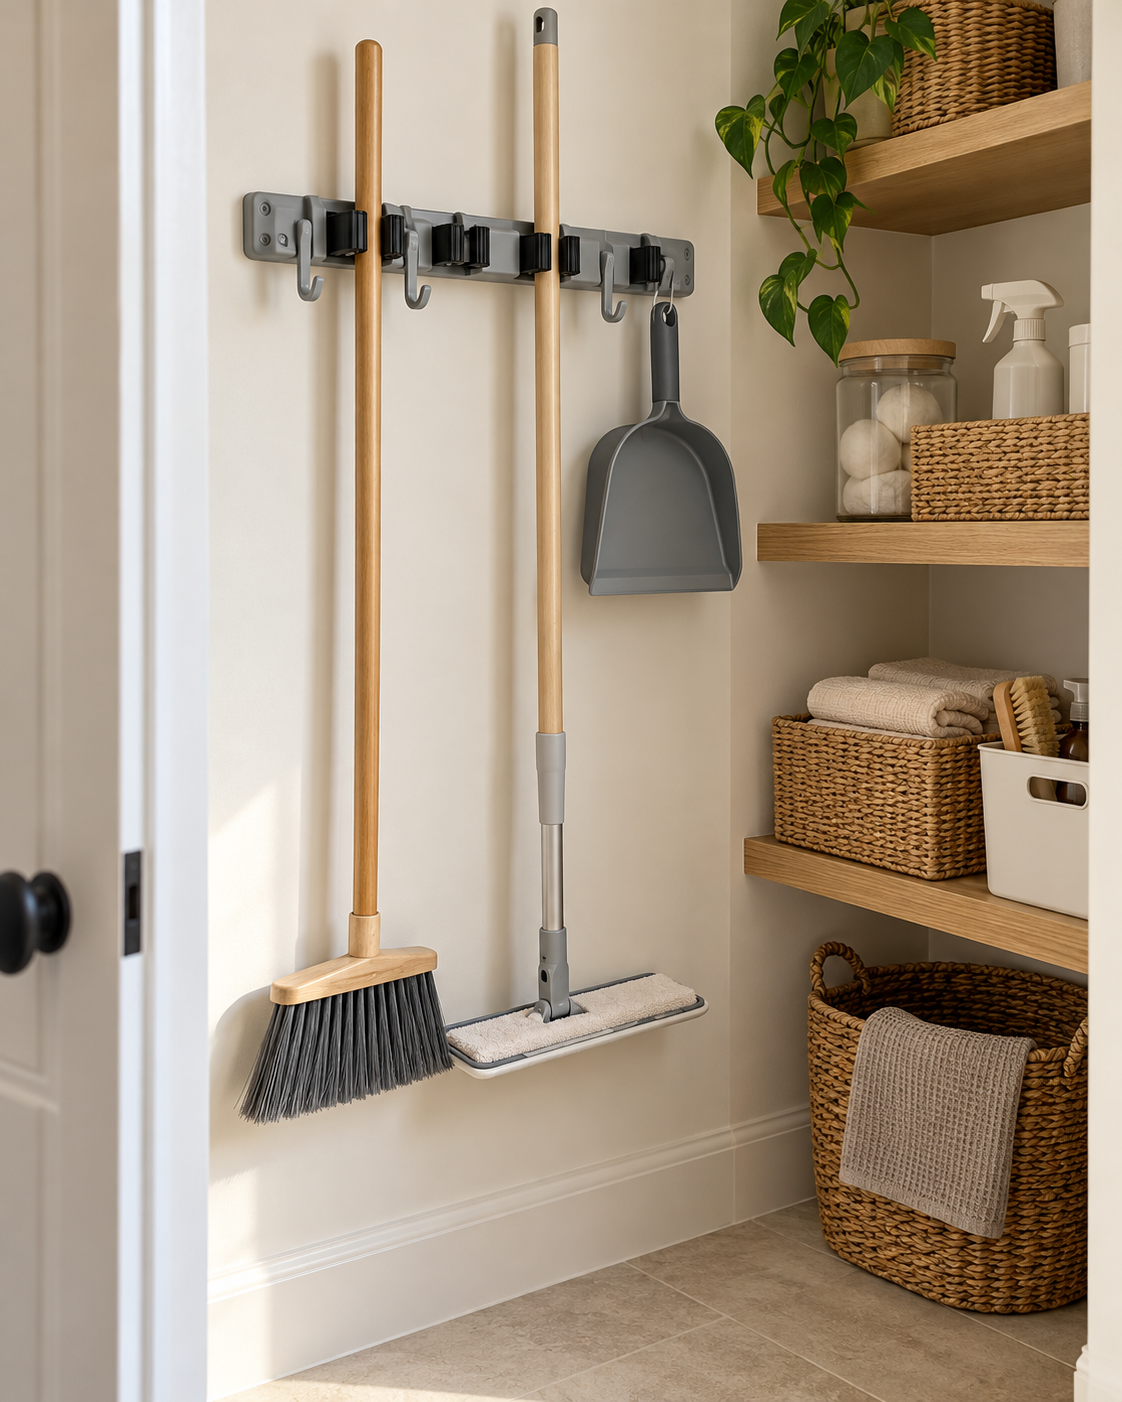
Long handles are easier to manage when each one clips into a wall-mounted holder. They stop sliding into the doorway, and the floor underneath stays clear enough for a quick sweep.
A grip rail with separate hooks, such as the Berry Ave style linked here, can gather a broom, dry mop and dustpan along one side wall. Space the tools so their heads do not overlap or block nearby shelves.
Check handle compatibility and follow the mounting instructions for your wall type. Let wet mop heads dry fully before returning them to a closed cupboard; the storage rail is a parking place, not a drying solution.
3. Make One Grab-and-Go Cleaning Caddy
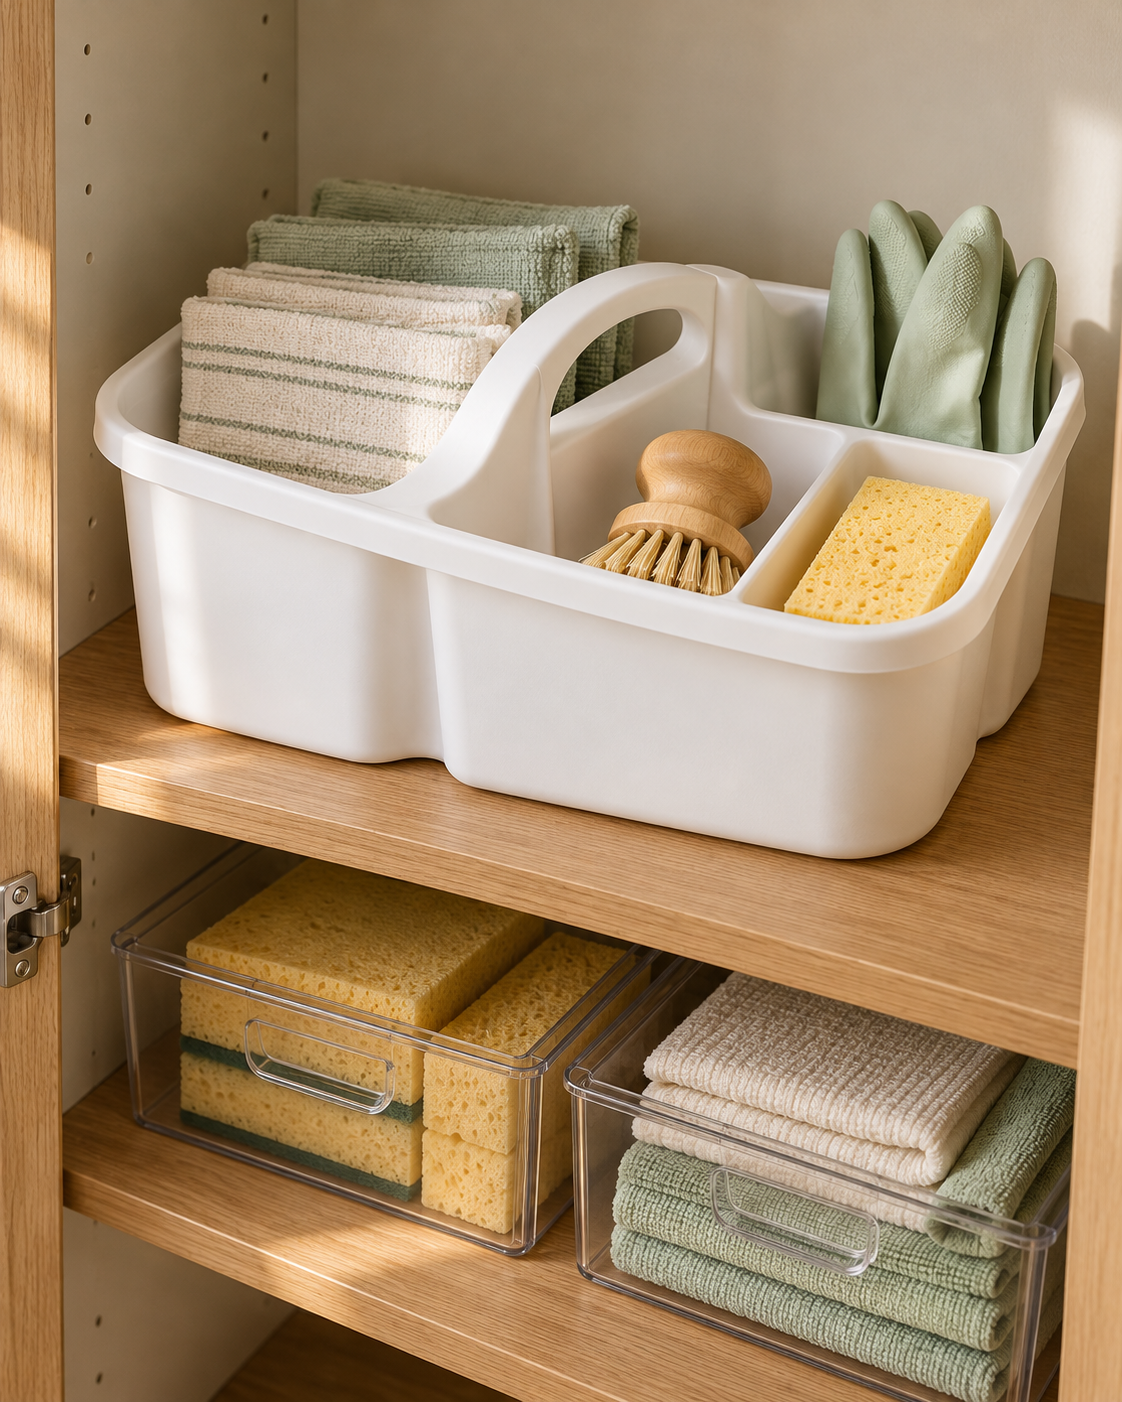
Gather the supplies for your usual cleaning round in a handled caddy. Carrying one container from room to room is simpler than collecting bottles, gloves and cloths from three different shelves.
A divided caddy keeps smaller accessories from disappearing beneath the larger items. The Sterilite Divided Ultra Caddy has a large curved handle and separate compartments, making it a useful reference for this setup.
Keep the contents light enough to carry comfortably and store cleaning products in their original labelled containers. Return the caddy to the front of its shelf so the next clean starts with one easy movement.
4. Adjust the Shelves Around What You Actually Store
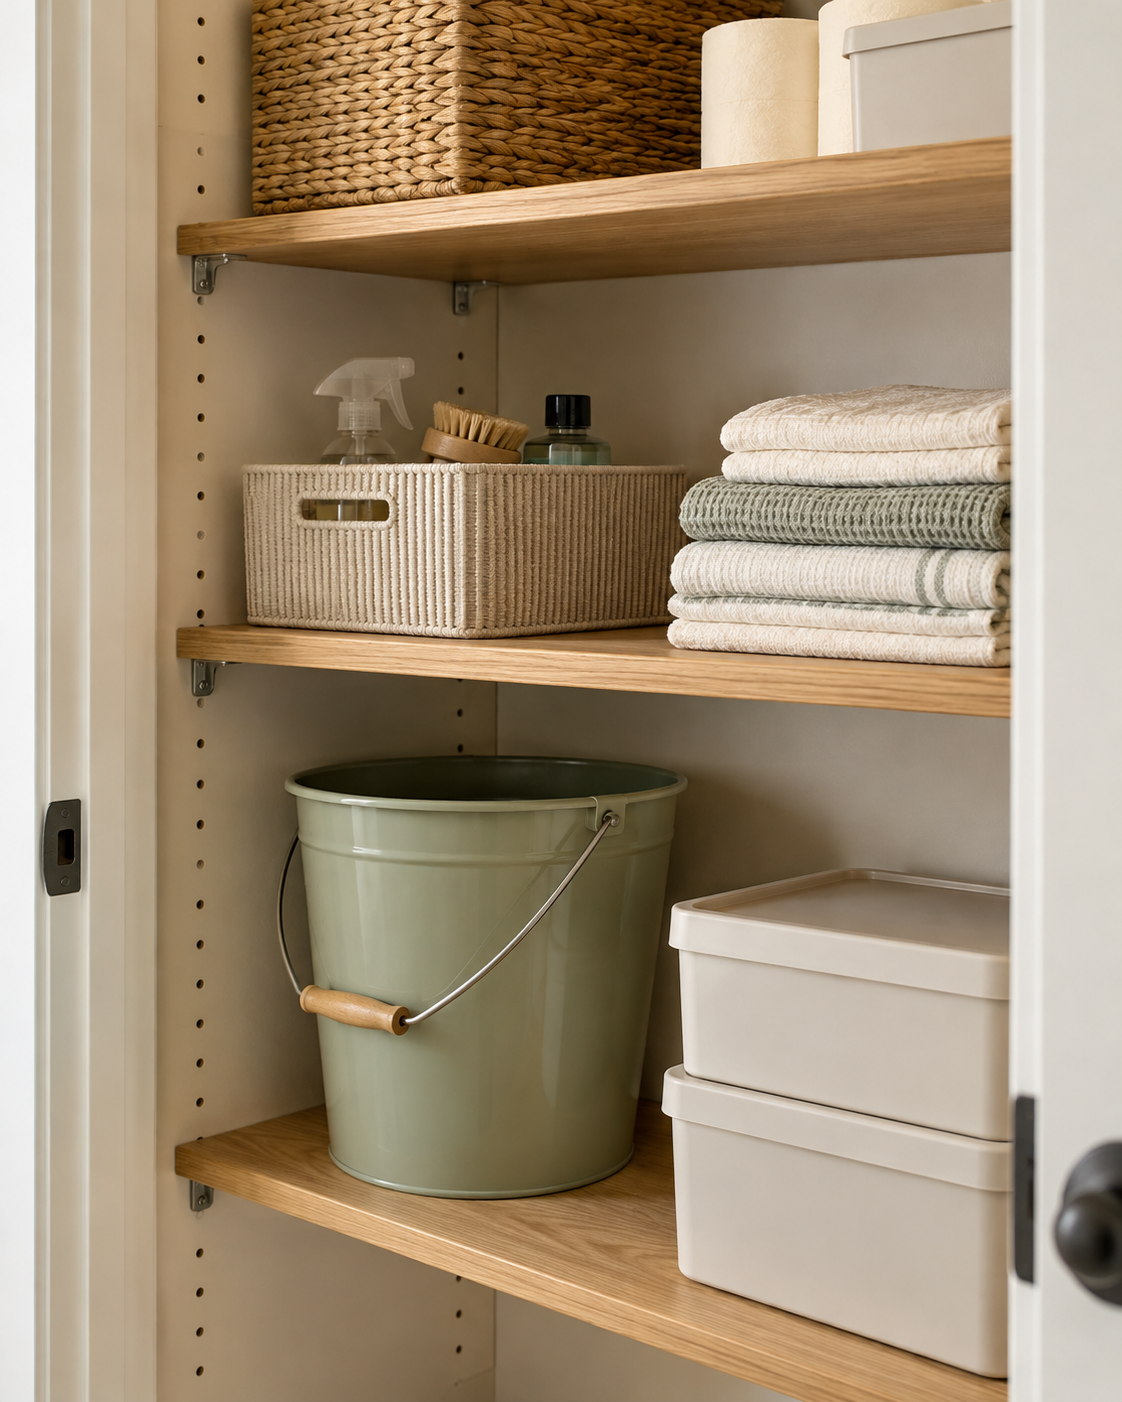
Evenly spaced shelves look tidy, but they do not always suit a utility closet. One tall bottle can leave a whole shelf with wasted air above smaller supplies.
If the shelving is adjustable, arrange your actual belongings before deciding on the shelf heights. Give tall items a suitable bay and bring the shelves for cloths and small boxes closer together.
Leave room for your hand above each container rather than creating a tight fit. Check the shelf supports and load limits before moving heavy items into the new layout.
5. Use Clear Drawers for Small Cleaning Extras

Spare sponges, furniture pads and dry scrub brushes can disappear at the back of a shelf. Clear storage drawers turn those loose pieces into shallow, visible groups.
Choose drawers that fit the shelf depth and can open fully with the closet door in its normal position. Wide, shallow designs work particularly well when small accessories would otherwise end up in a deep mixed basket.
Keep one broad category in each drawer and leave a little spare room. Avoid storing damp cloths or loose cleaning chemicals inside: these drawers are most useful for clean, dry accessories.
6. Use the Back of the Door for Lightweight Supplies
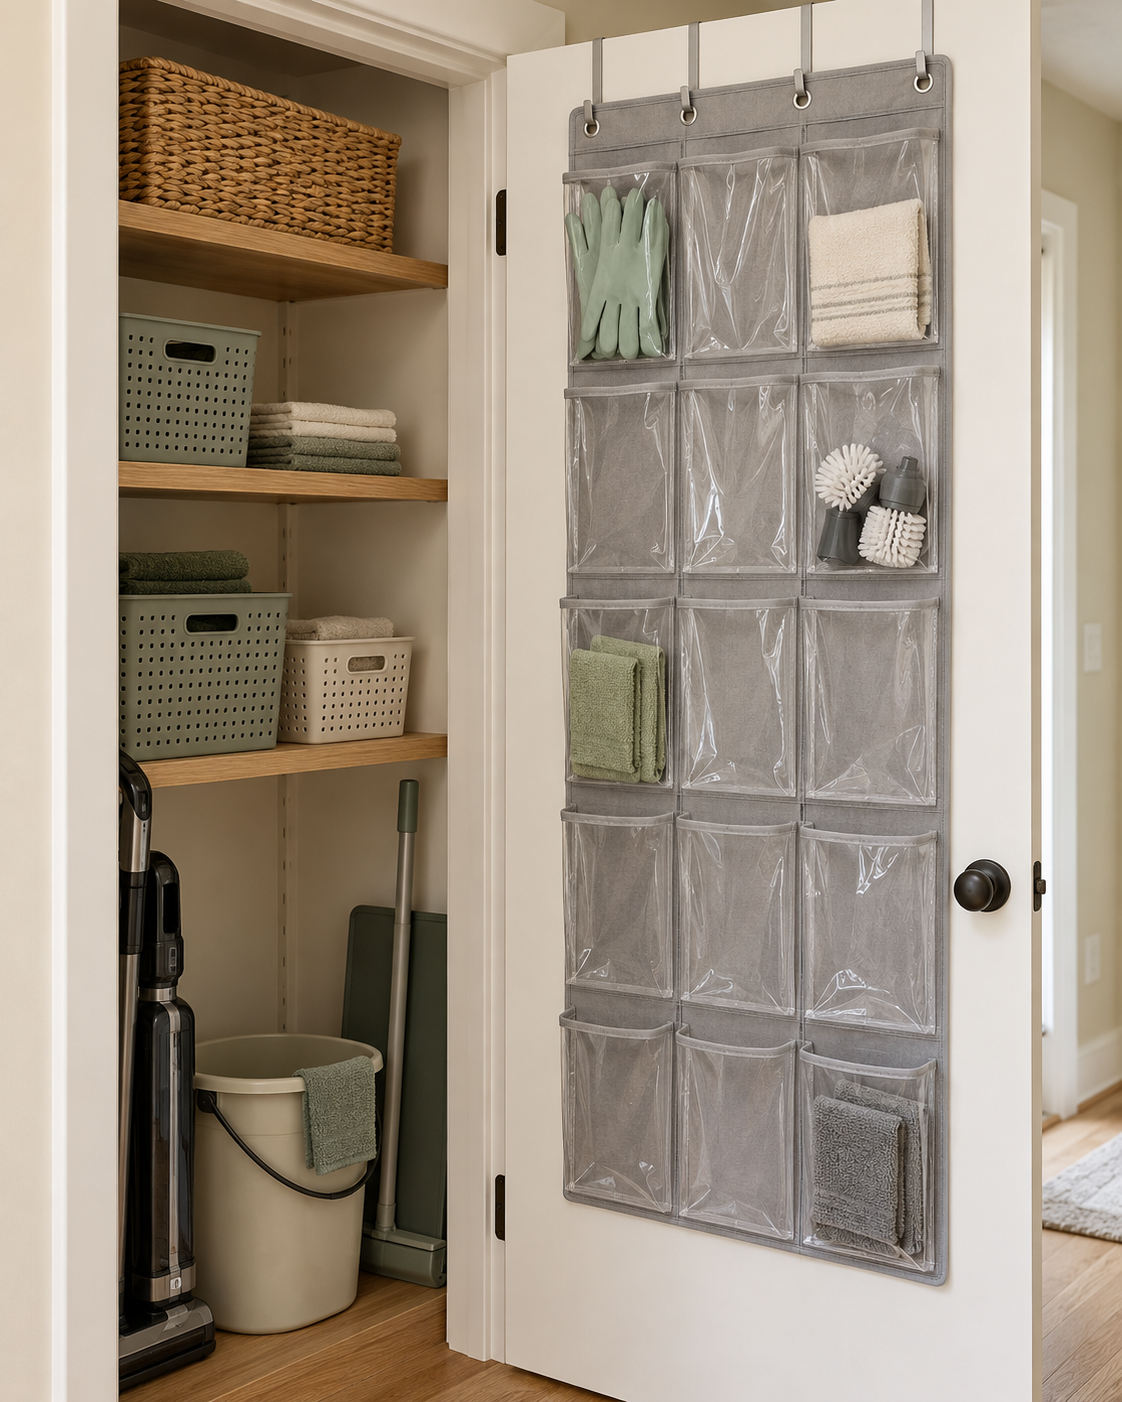
The inside of a utility closet door can hold the small things that are always slipping between larger items. A shallow pocket organizer is useful for dry gloves, dusting cloths and spare brush heads.
Check the gap between the closed door and the shelves before choosing an organizer. An over-door hook also needs enough clearance at the top for the door to close properly.
Put the most-used supplies at a comfortable height and keep the pockets lightly filled. A door that swings and shuts easily is more useful than one carrying every spare item you own.
7. Give Each Vacuum Attachment a Visible Home
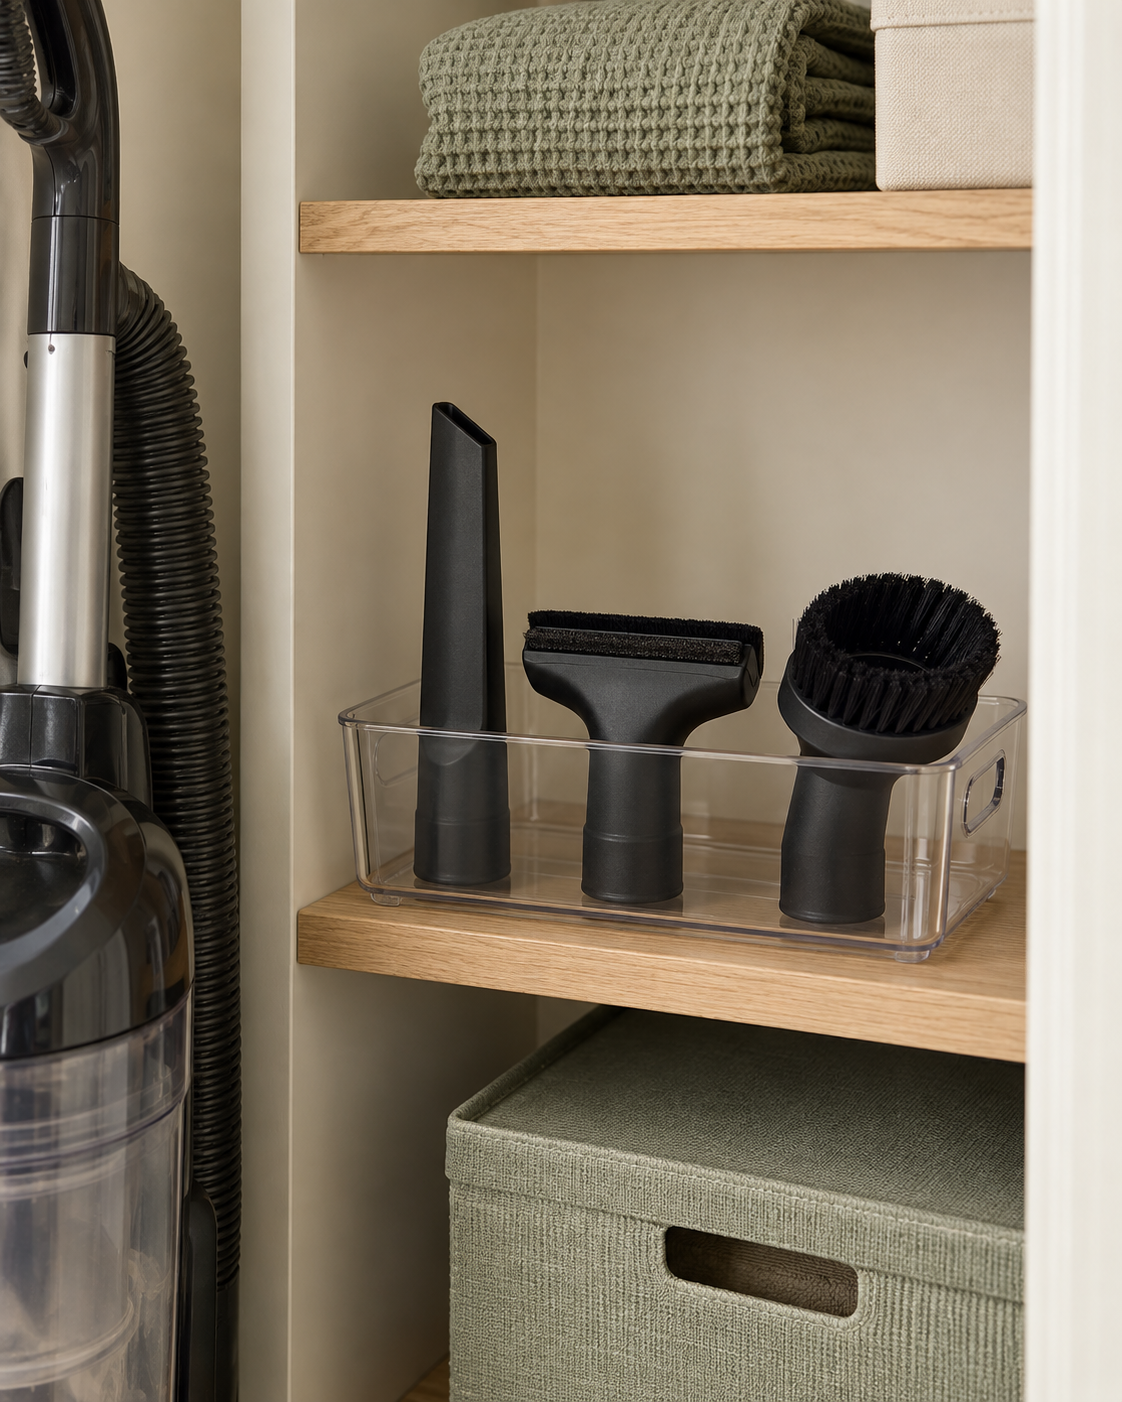
The narrow nozzle and upholstery brush are much more useful when you can find them without emptying a basket. Store them together beside the vacuum rather than on a distant shelf.
A small open bin works for compact attachments, while appropriately sized clips can hold longer pieces. Arrange the openings so you can identify each tool at a glance.
Only keep attachments that fit your current machine. Put a note with the model name beside spare filters or bags so you do not have to guess when it is time to replace them.
8. Separate Daily Supplies From Unopened Refills
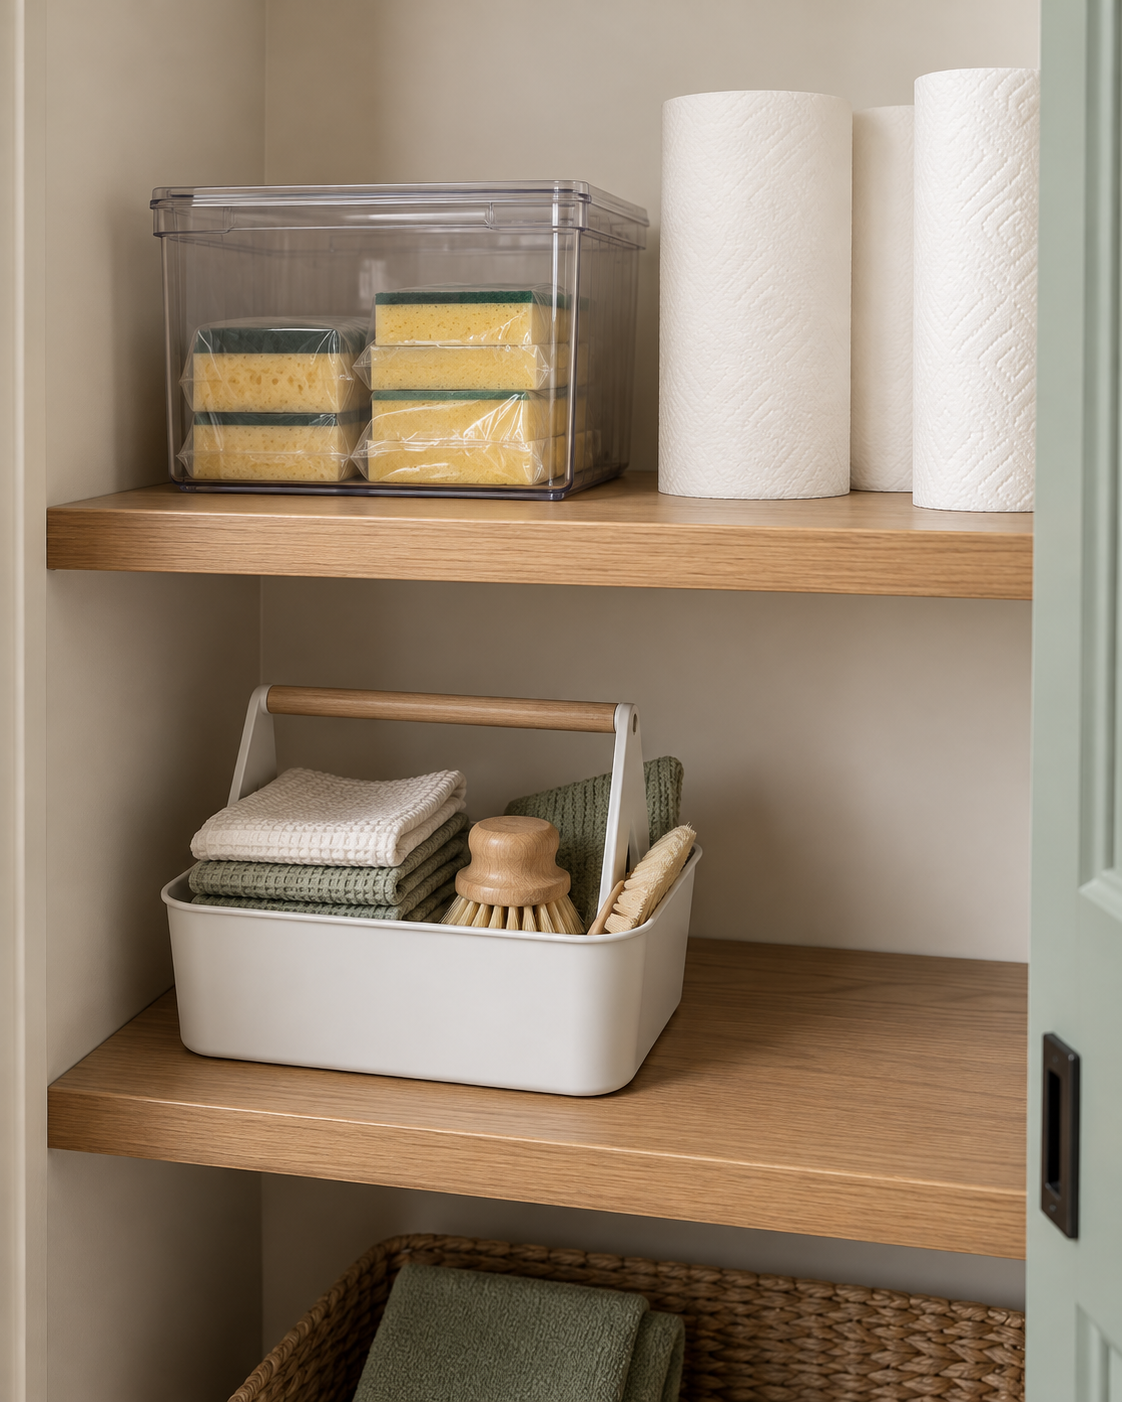
An everyday shelf gets crowded quickly when opened products and bulk refills share the same space. Give the supplies you are using now the easiest position to reach.
Keep unopened backups in a separate, clearly marked area that follows the products’ storage instructions. Bring older stock forward when adding a new purchase so it does not get forgotten at the back.
Before buying another multipack, check this area first. A small, visible reserve is easier to manage than several half-hidden stashes spread around the house.
9. Divide Cleaning Cloths by Job
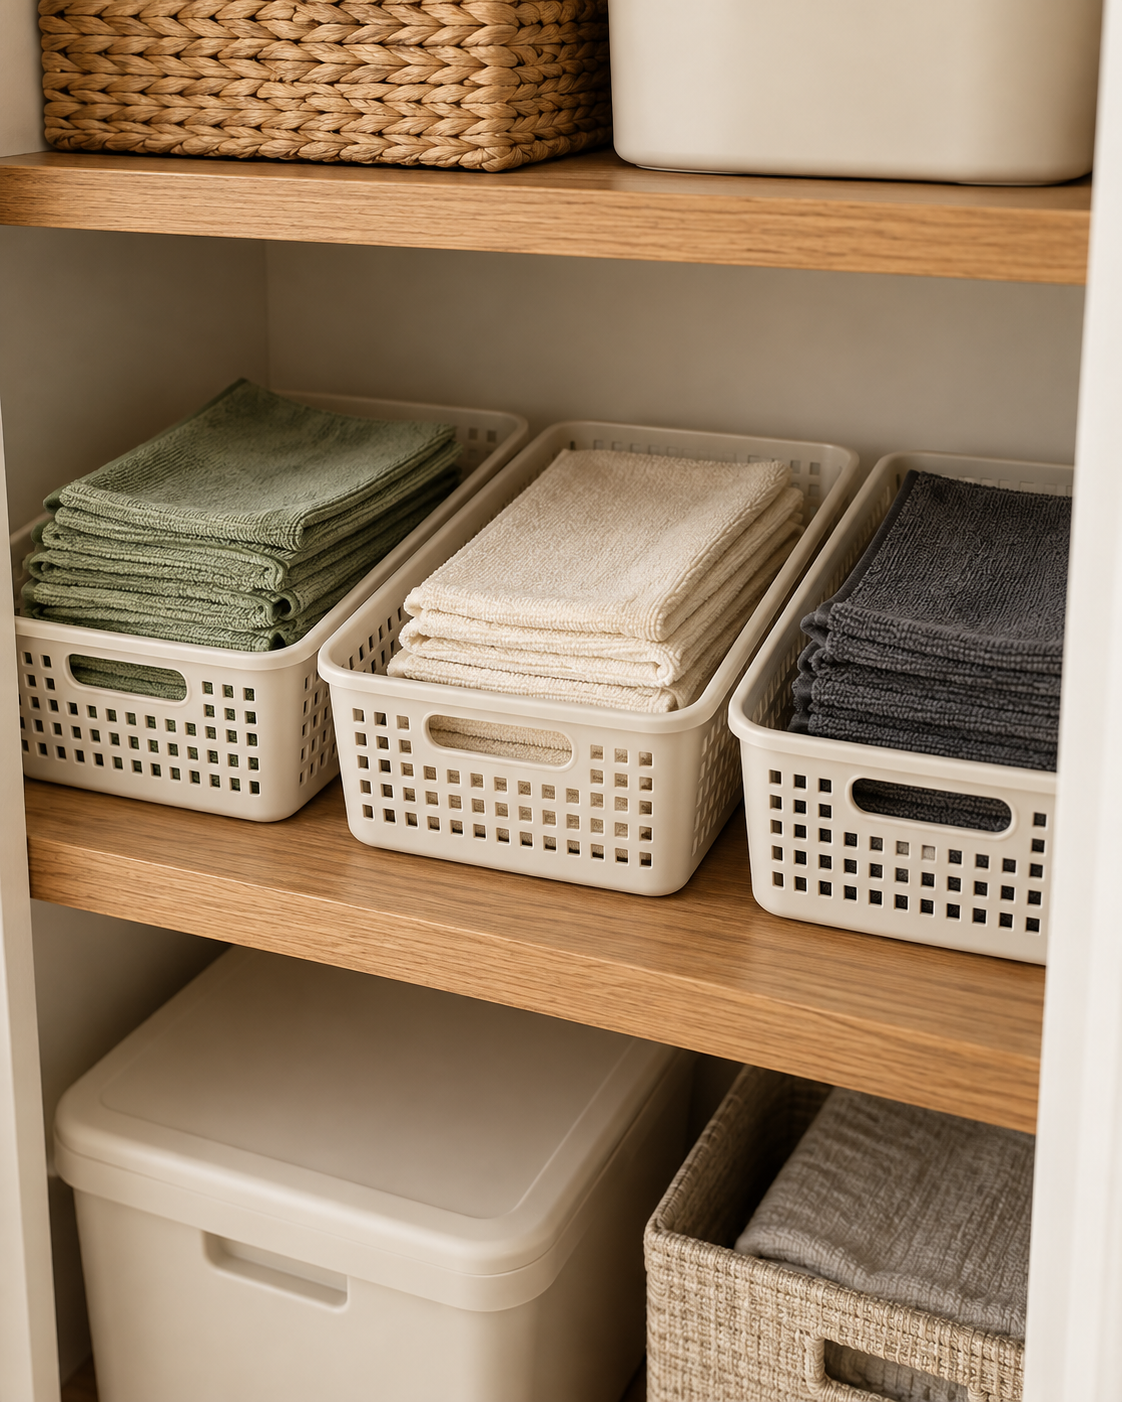
A single pile of cleaning cloths makes it difficult to remember which ones belong in the bathroom and which are for kitchen surfaces. Two or three simple groups remove that uncertainty.
Use separate shallow baskets or dividers for jobs such as kitchen, bathroom and dusting. If your cloths already come in different colours, assign each colour a job instead of buying a new matching set.
Return only clean, fully dry cloths to the closet. Used cloths should go to their appropriate laundry routine rather than back into the clean stack.
10. Keep Bulky Paper Supplies Together
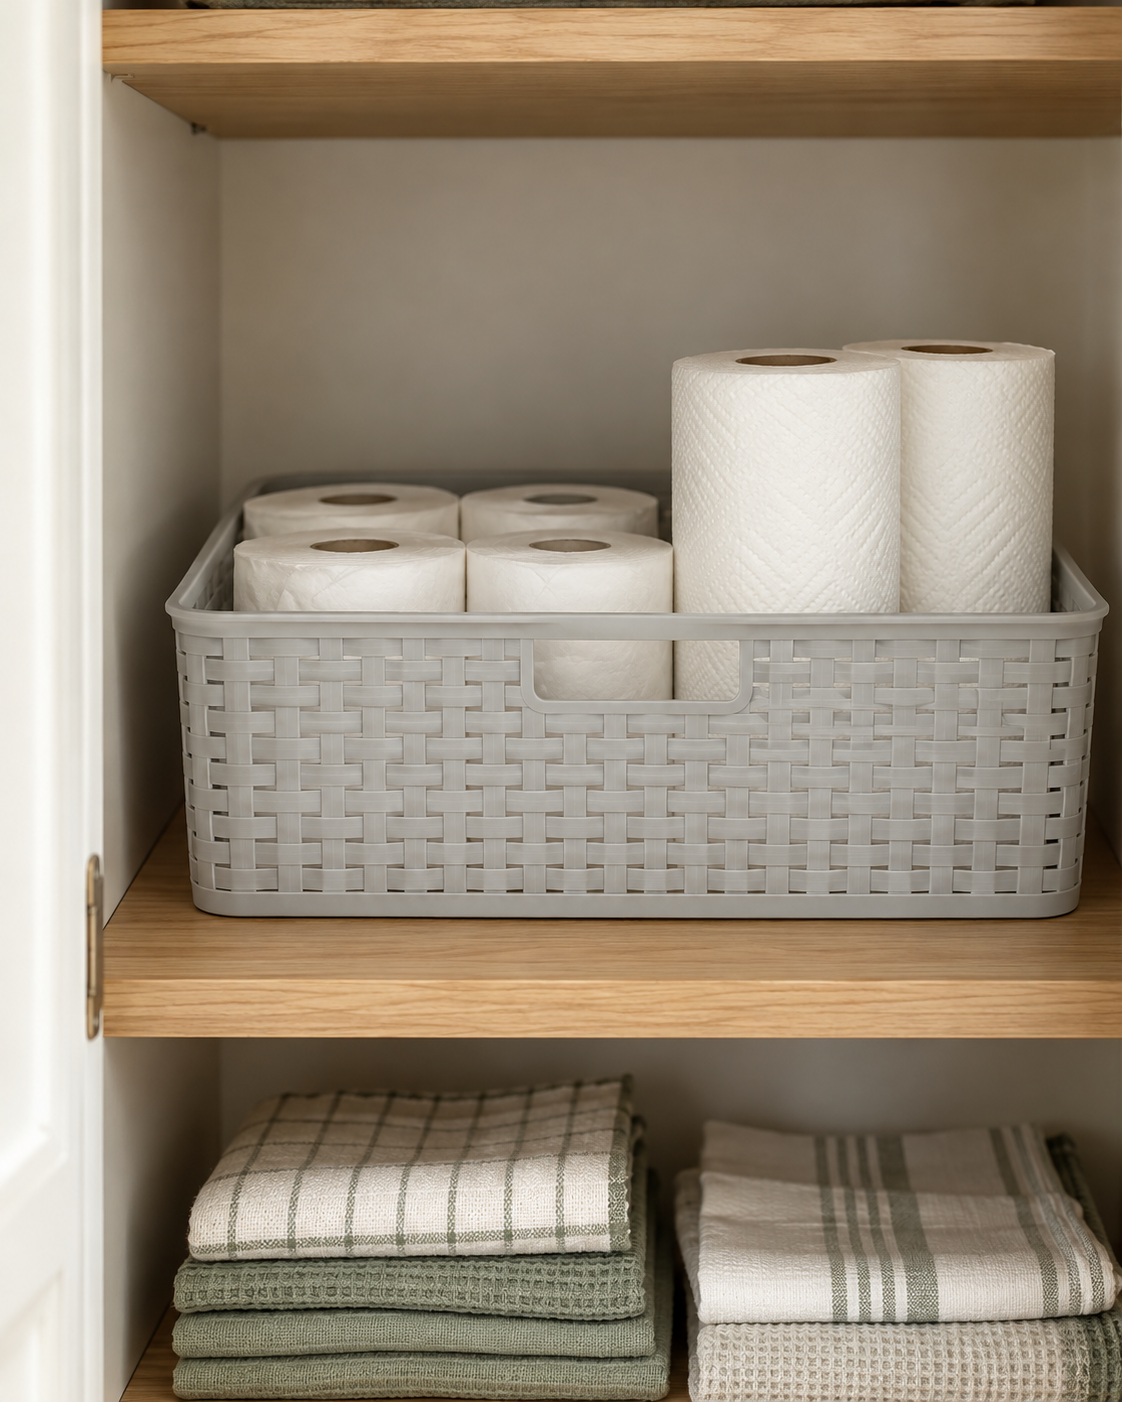
Paper towels and spare toilet rolls can fill every empty corner unless they have one defined home. Give them a dedicated shelf or broad basket so you can see the reserve at a glance.
A higher shelf can work for lightweight paper supplies if you can reach it safely. Keep heavier items lower and use a stable step stool whenever the shelf is beyond comfortable reach.
Leave paper products in their protective packaging where it helps keep them clean. A utility closet does not need every roll unwrapped and restyled to work well.
11. File Trash-Bag Rolls in an Open Bin
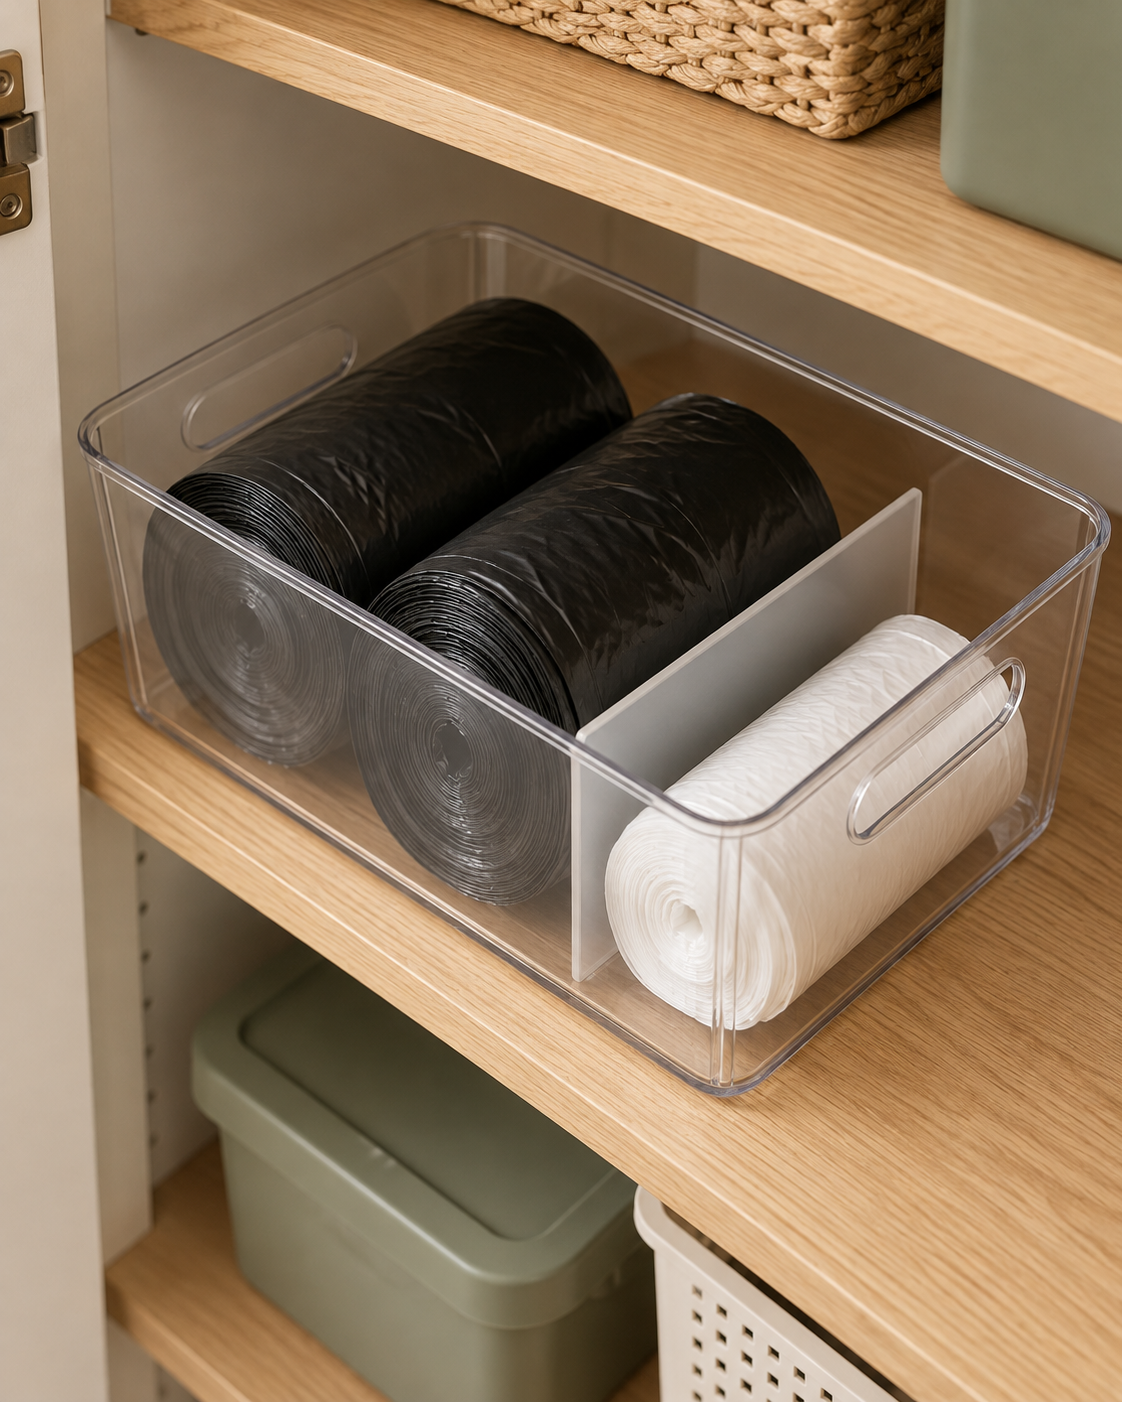
Loose trash-bag rolls tend to migrate behind bottles, while flattened boxes make it difficult to see which size is left. Keep the rolls together in one open container near the front of a shelf.
Separate kitchen bags from smaller bathroom liners with a divider or keep each type in its labelled box inside the bin. That makes grabbing the correct size much less of a guessing game.
Keep enough room to lift a roll straight out. If you need to unpack the whole container to reach the everyday bags, reduce the reserve or choose a shallower bin.
12. Nest Buckets Without Burying Their Handles
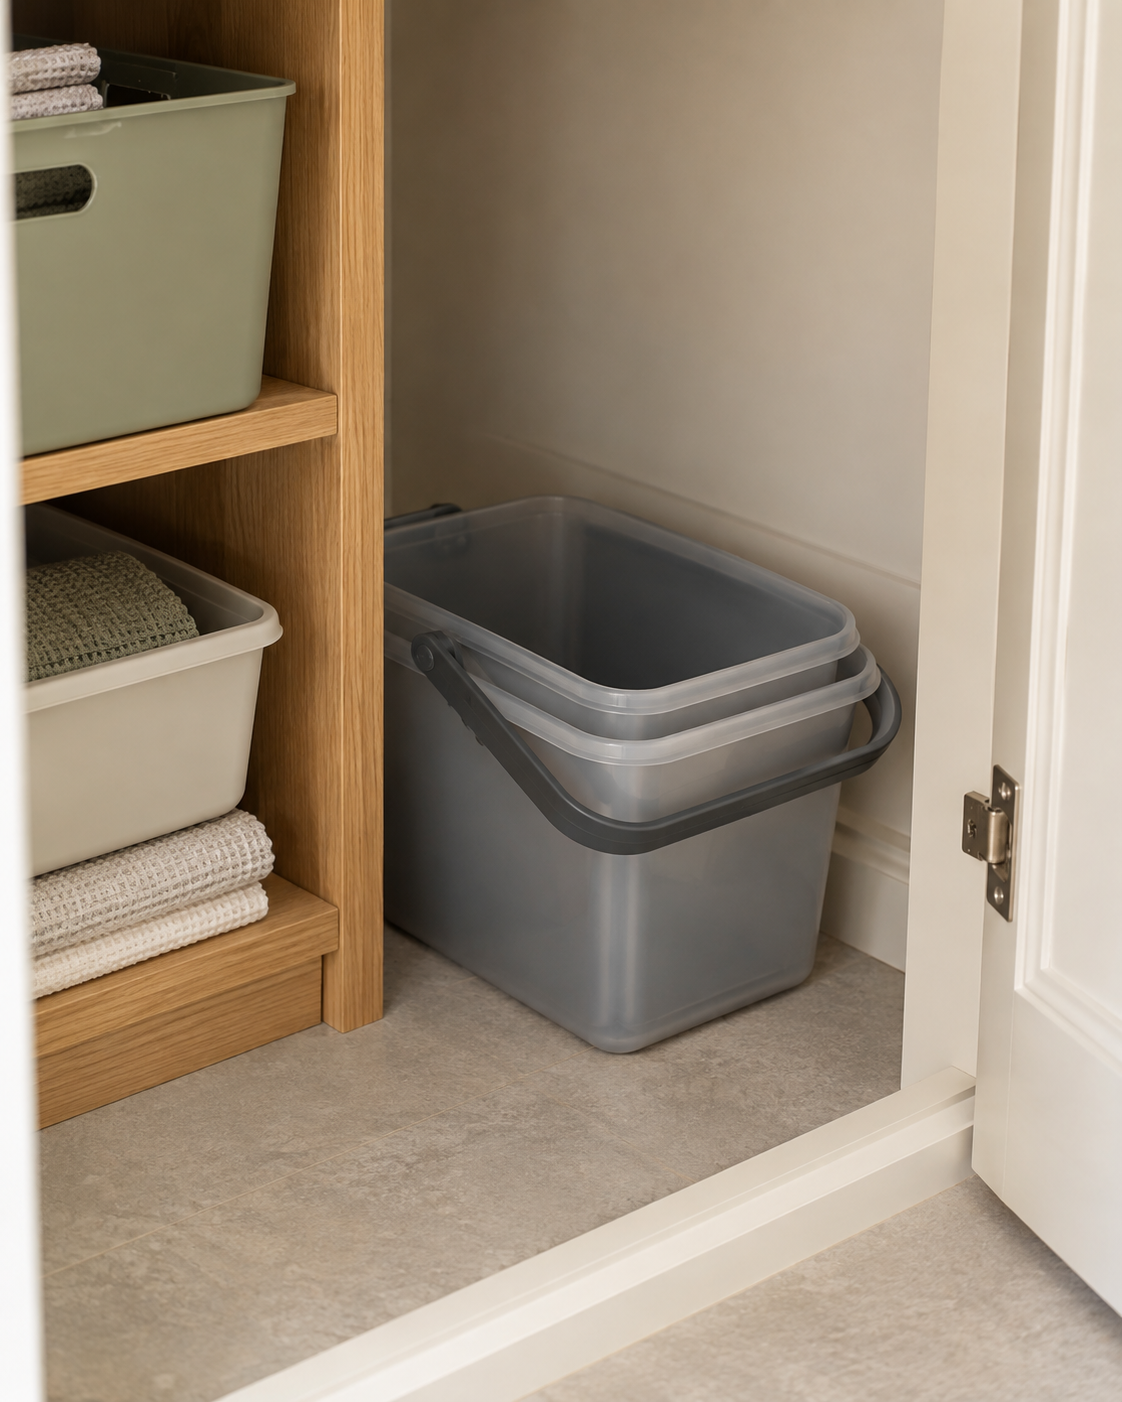
Buckets and wash basins take up useful floor space, but compatible shapes can often nest together. Keep the stack in one low bay beside, rather than in front of, the vacuum.
Check that the handles remain accessible and the buckets separate easily. A stack that wedges tightly together creates another small frustration every time you need it.
Let everything dry before nesting and avoid filling the top bucket with unrelated supplies. Being able to lift out a bucket immediately is the reason for giving it a home.
13. Use a Removable Tray Beneath Bottles
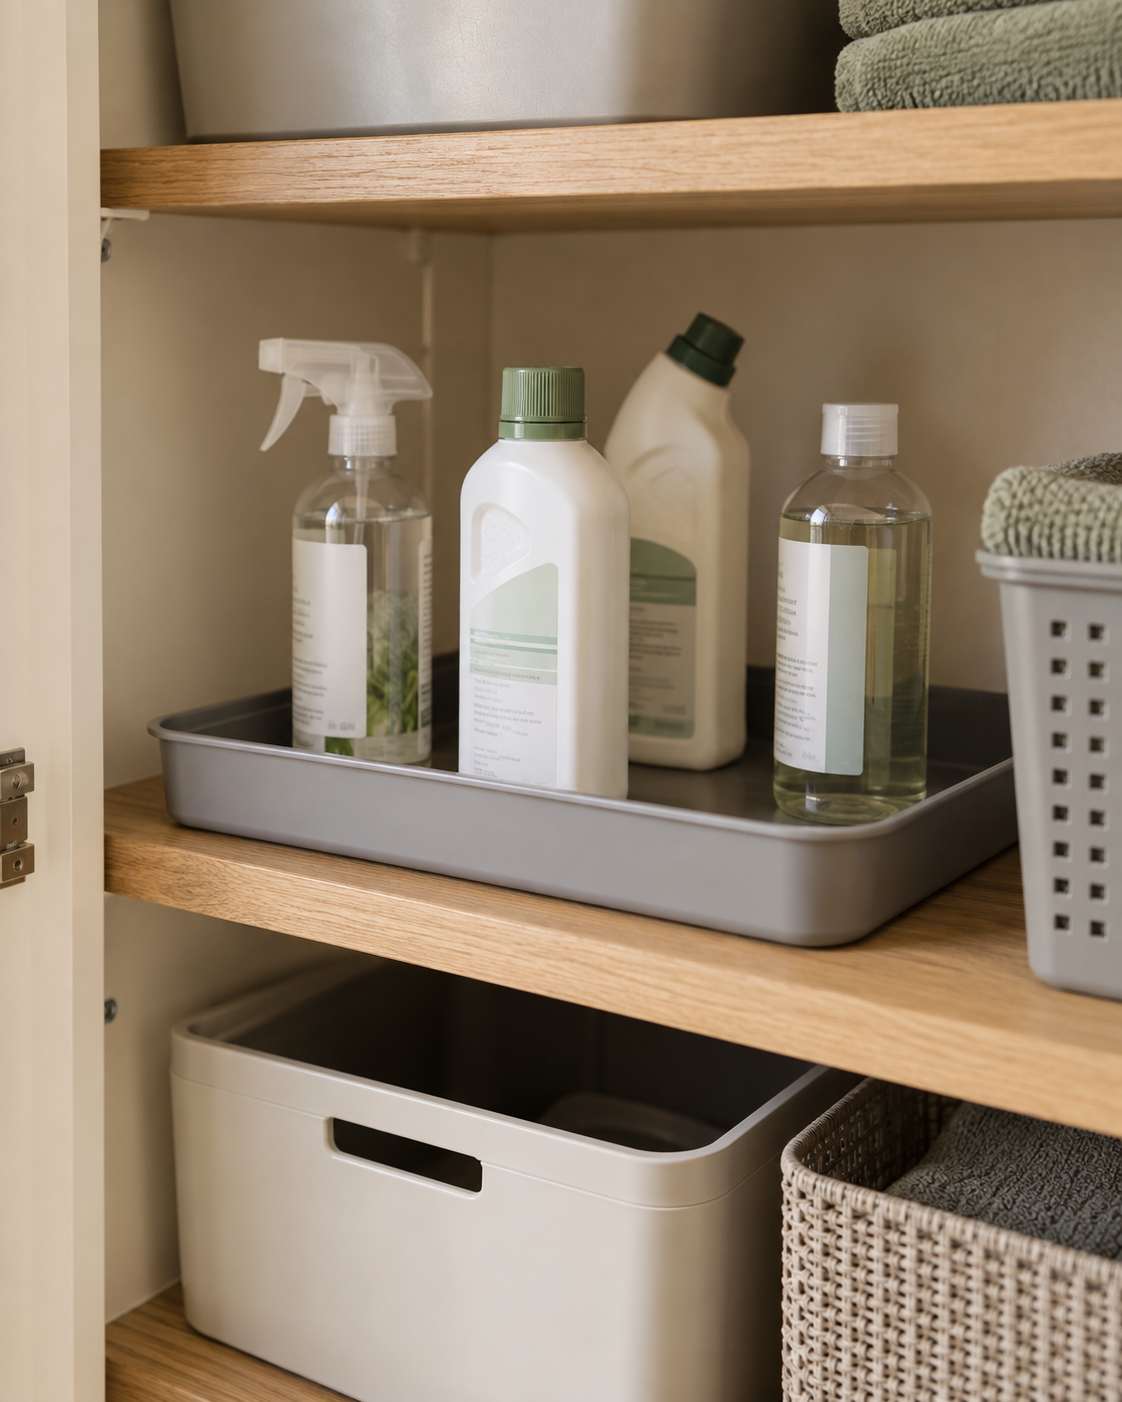
A washable tray can make the shelf holding cleaning bottles easier to maintain. Small drips stay in one visible area instead of spreading across the shelf or soaking into nearby cloths.
Choose a tray with a low lip and enough room to lift bottles out without knocking their neighbours. Keep original labels facing forward and follow each product’s instructions for storage and separation.
Check the tray during your regular reset and clean up any leaks according to the product label. A tray helps with housekeeping; it does not make incompatible products safe to store together.
14. Make Deep Shelves Easier to Reach With Handled Bins
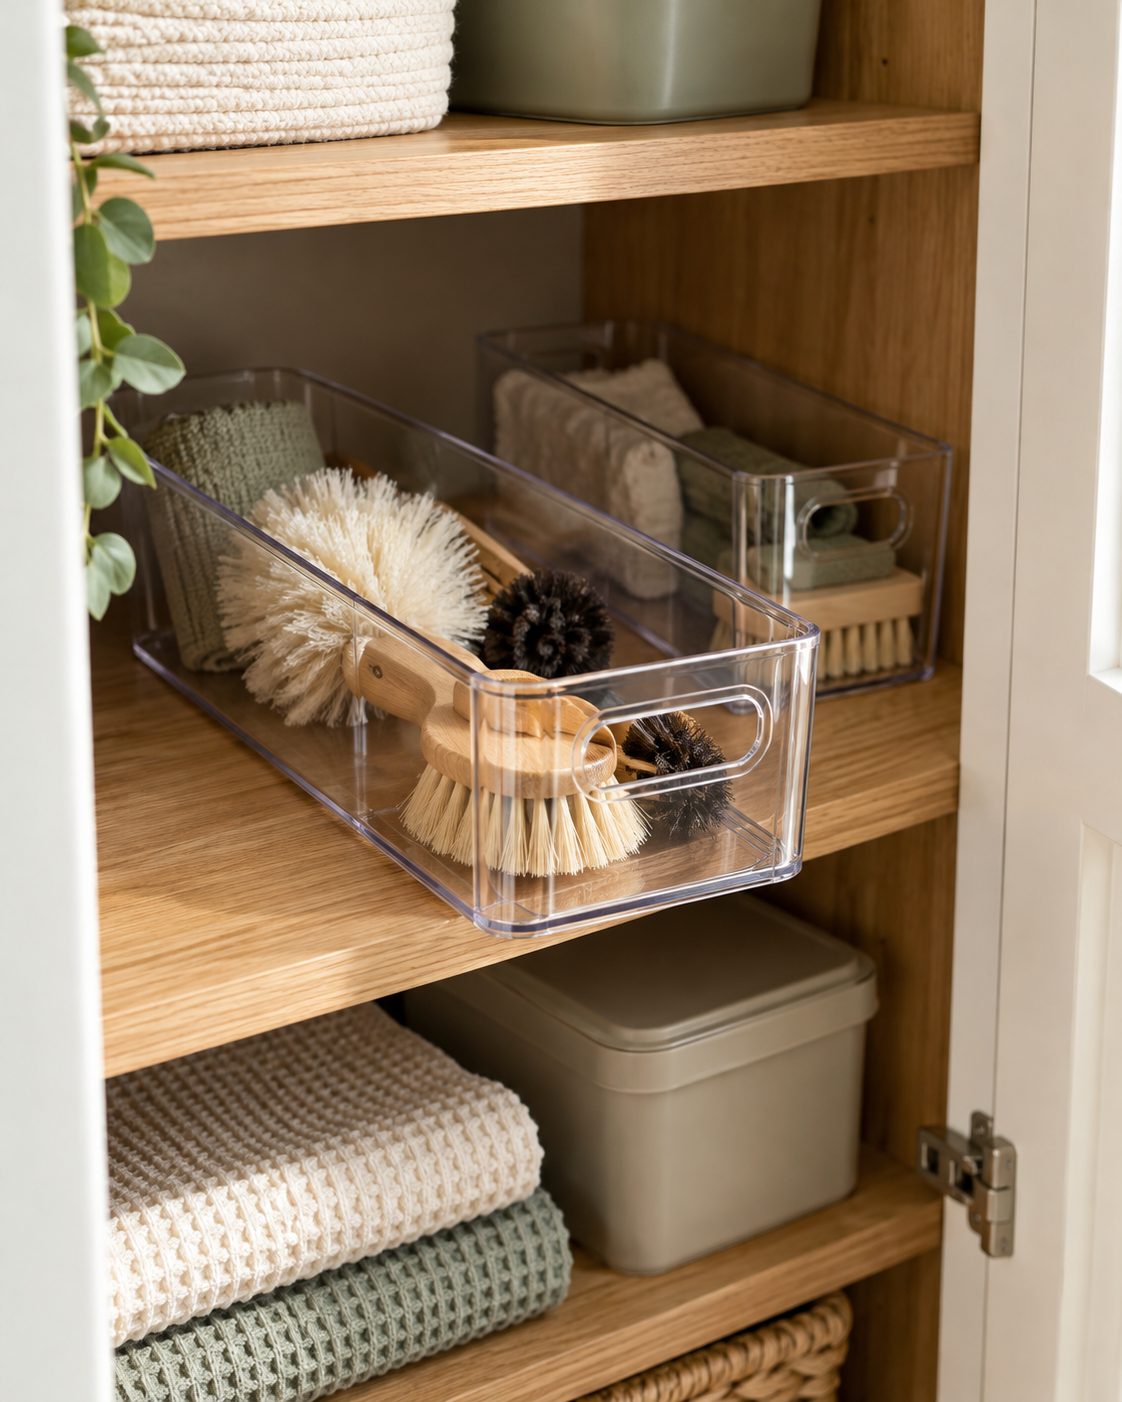
The back half of a deep shelf often becomes a hiding place for forgotten supplies. A handled bin brings a whole category forward so you can see what is there.
Measure the shelf opening and allow room around hinges before choosing a container. Put lighter accessories in the bin and keep the load comfortable enough to lift with control.
Use a broad category such as spare brushes or dusting supplies rather than an assorted overflow box. The handle solves access; a clear category solves the clutter.
15. Store the Ironing Board in a Dedicated Tall Slot
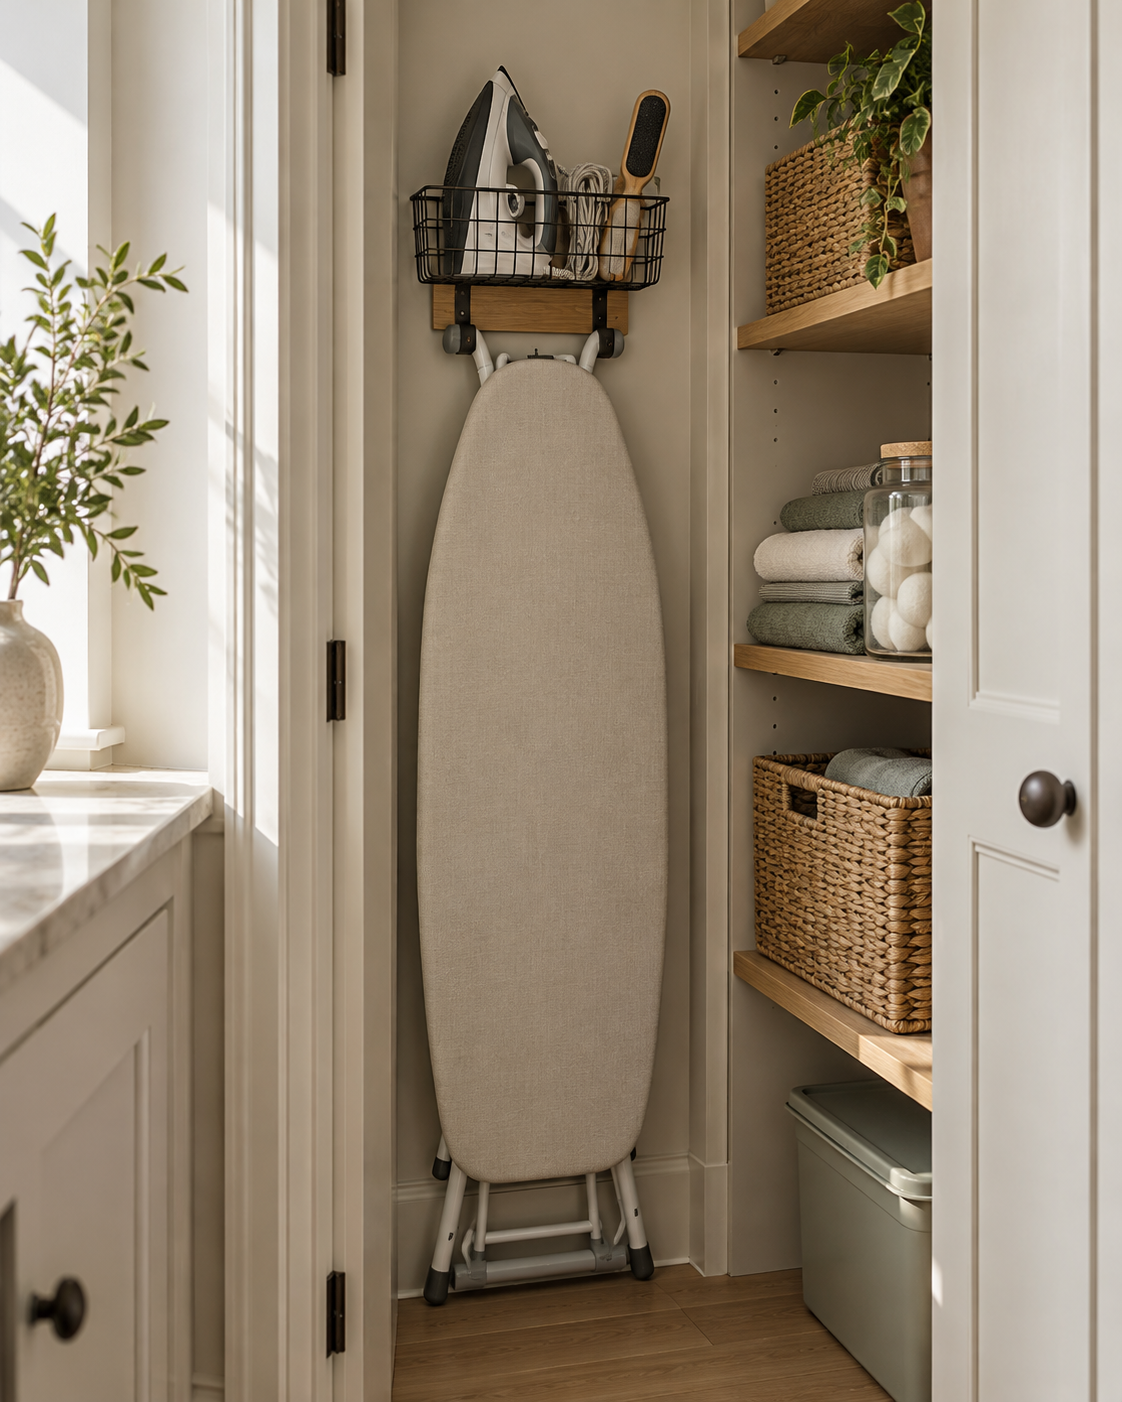
A folded ironing board is awkward when it leans across the doorway or falls against the vacuum. Give it a narrow vertical bay where it can stand securely without blocking anything else.
A purpose-made wall holder may help if your board and wall construction are suitable. Check how the board lifts on and off before deciding on the mounting position.
Allow the iron to cool completely before putting it away, following its instructions. Keep its cord tidy and store the iron securely so it cannot be pulled off a shelf.
16. Keep Replacement Filters With Their Model Details
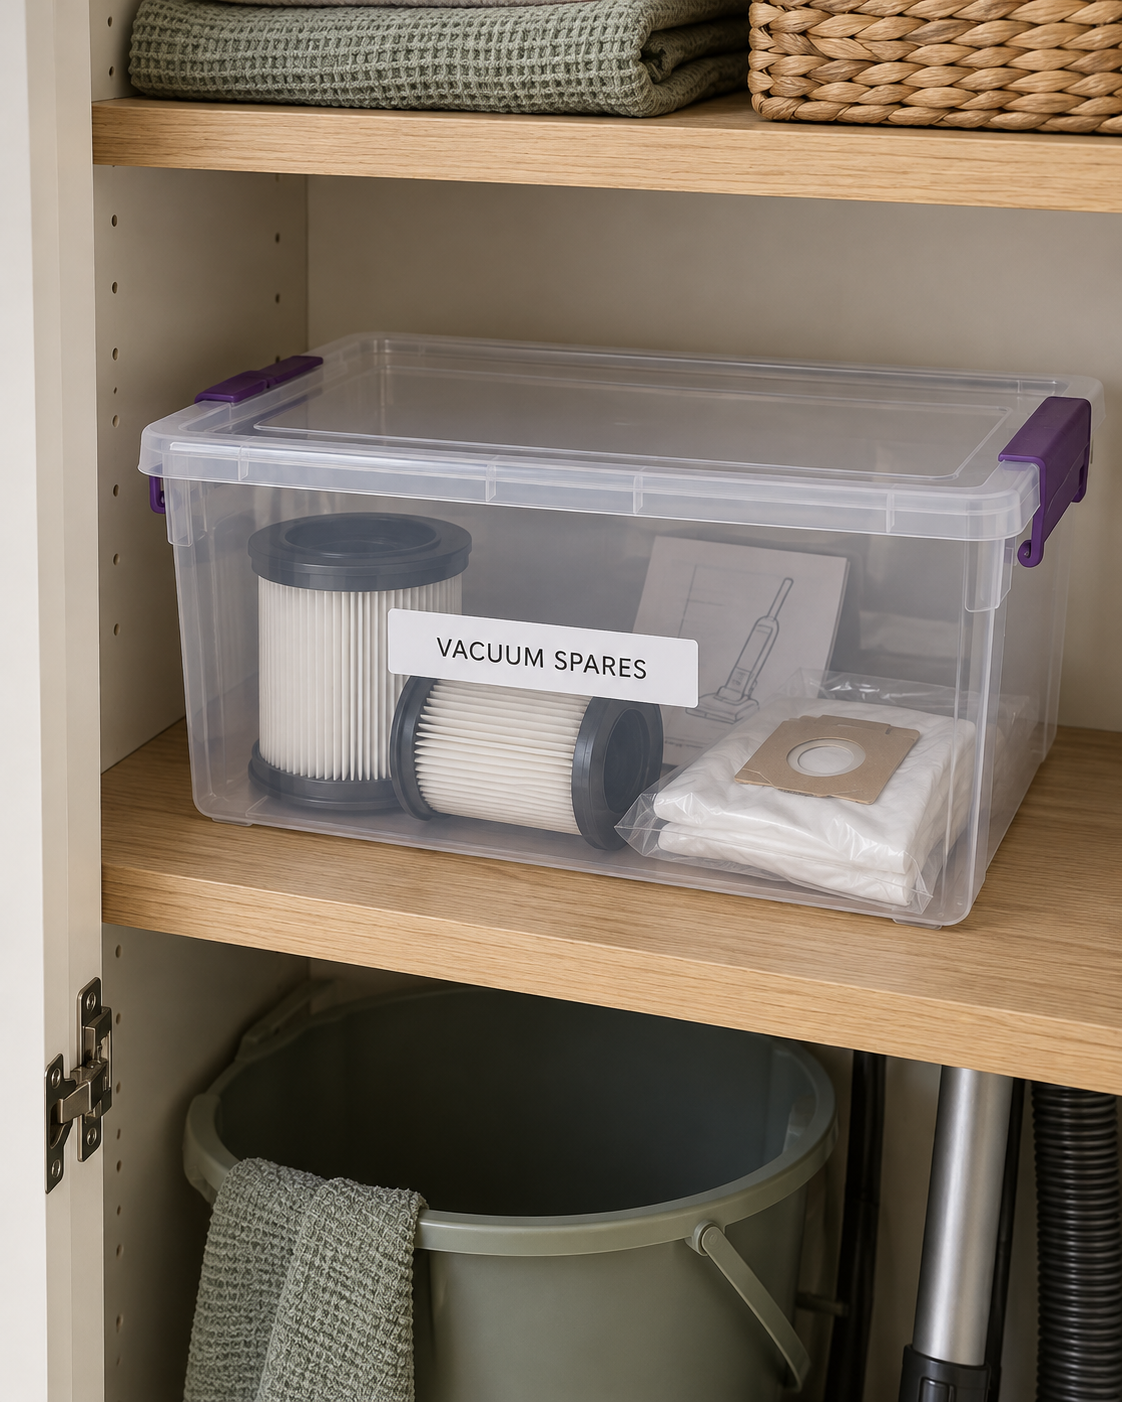
Vacuum bags and replacement filters are easy to buy twice when the packaging gets separated from the contents. Give compatible spares one labelled box.
Keep model numbers and installation instructions with the parts. For anything that looks similar to another appliance’s filter, add the appliance name to the outside of the box.
Review this box when an appliance is replaced. Parts for a machine you no longer own should not keep occupying the most useful shelf in the closet.
17. Add a Small Household Repair Kit

If this closet also holds everyday household tools, contain them in a compact kit. A screwdriver, tape measure and a few furniture pads are easier to find together than scattered between cleaning supplies.
Use a box with small compartments for the pieces that would otherwise fall to the bottom. Keep sharp tools secured and store the kit out of children’s reach.
Give larger DIY supplies another home if they start taking over the cleaning space. A utility closet works best when its contents support a few clear jobs.
18. Make the Shelf Labels Visible From the Doorway

Labels are most useful when they answer a quick question: where does this go? Put them on the front edge of a shelf or the visible face of a bin.
Use familiar names such as cloths, vacuum spares and paper supplies. Broad labels give you room to change the contents without rebuilding the whole system.
Try removable labels first and live with the arrangement for a week. It is easier to move a label than to keep following a layout that does not suit your routine.
19. Light the Dark Corners
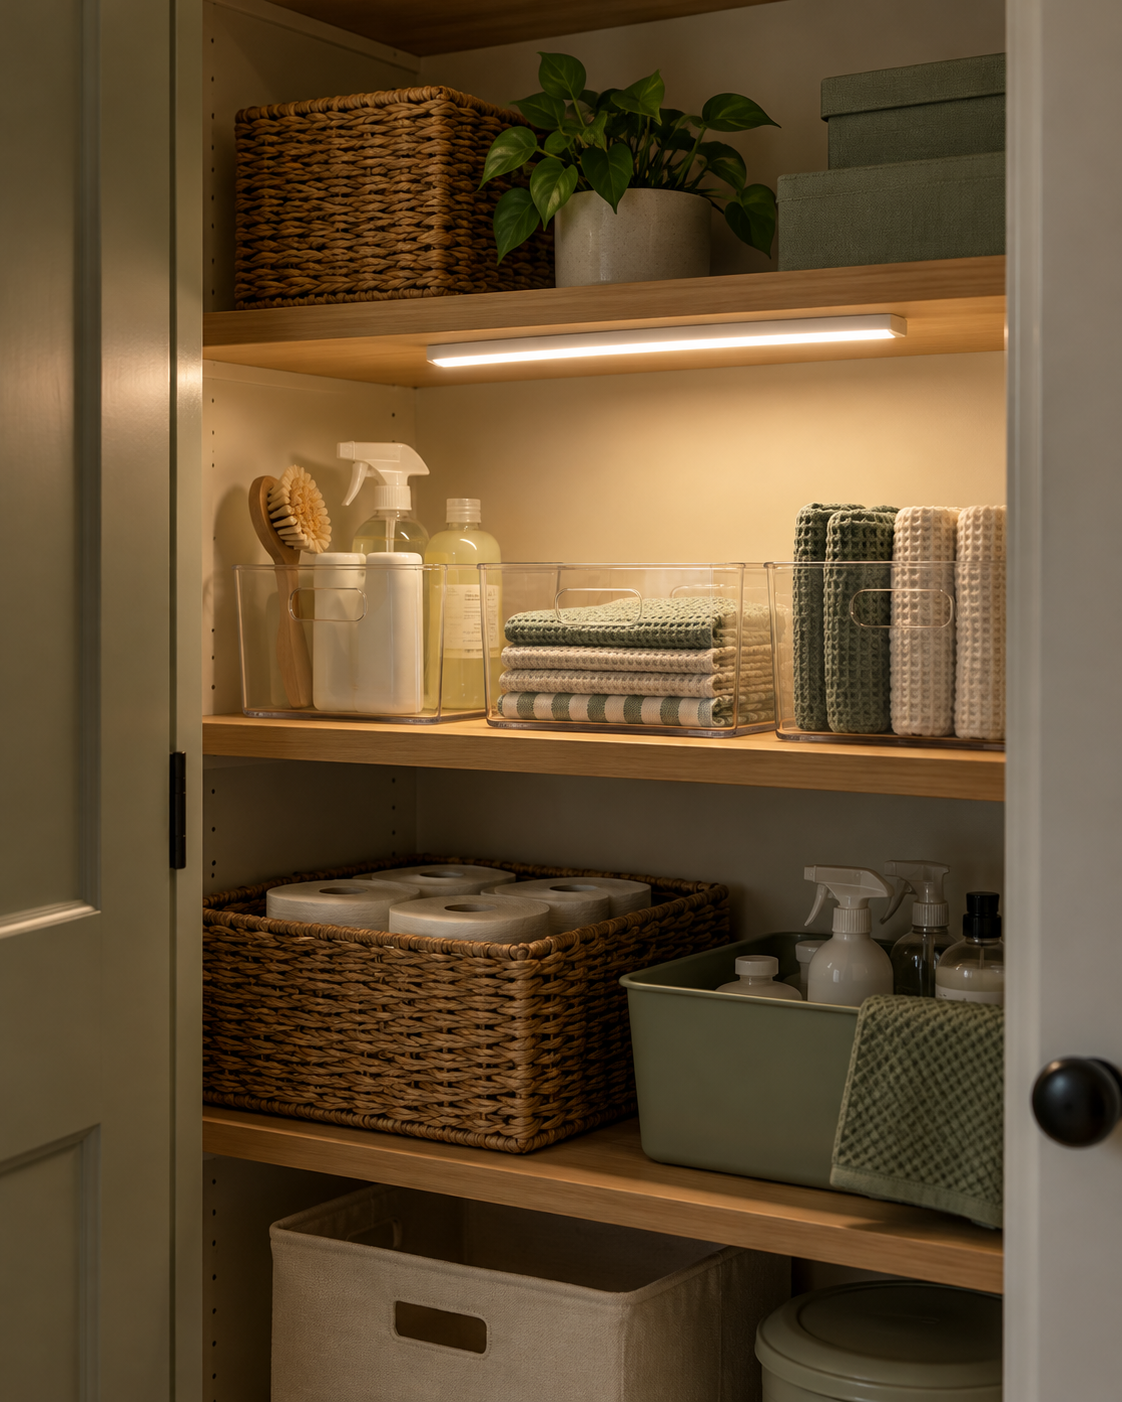
A deep utility closet can look organised and still be awkward to use if you cannot see the back of its shelves. A small light can make labels and spare supplies easier to spot.
Choose a light suitable for the location and fit it according to its instructions, clear of stored items. A battery-powered option can be useful where there is no existing light fitting.
Check the view with the closet fully stocked. The best position illuminates the shelves instead of disappearing behind the tallest basket.
20. Keep Cleaning Products Secure
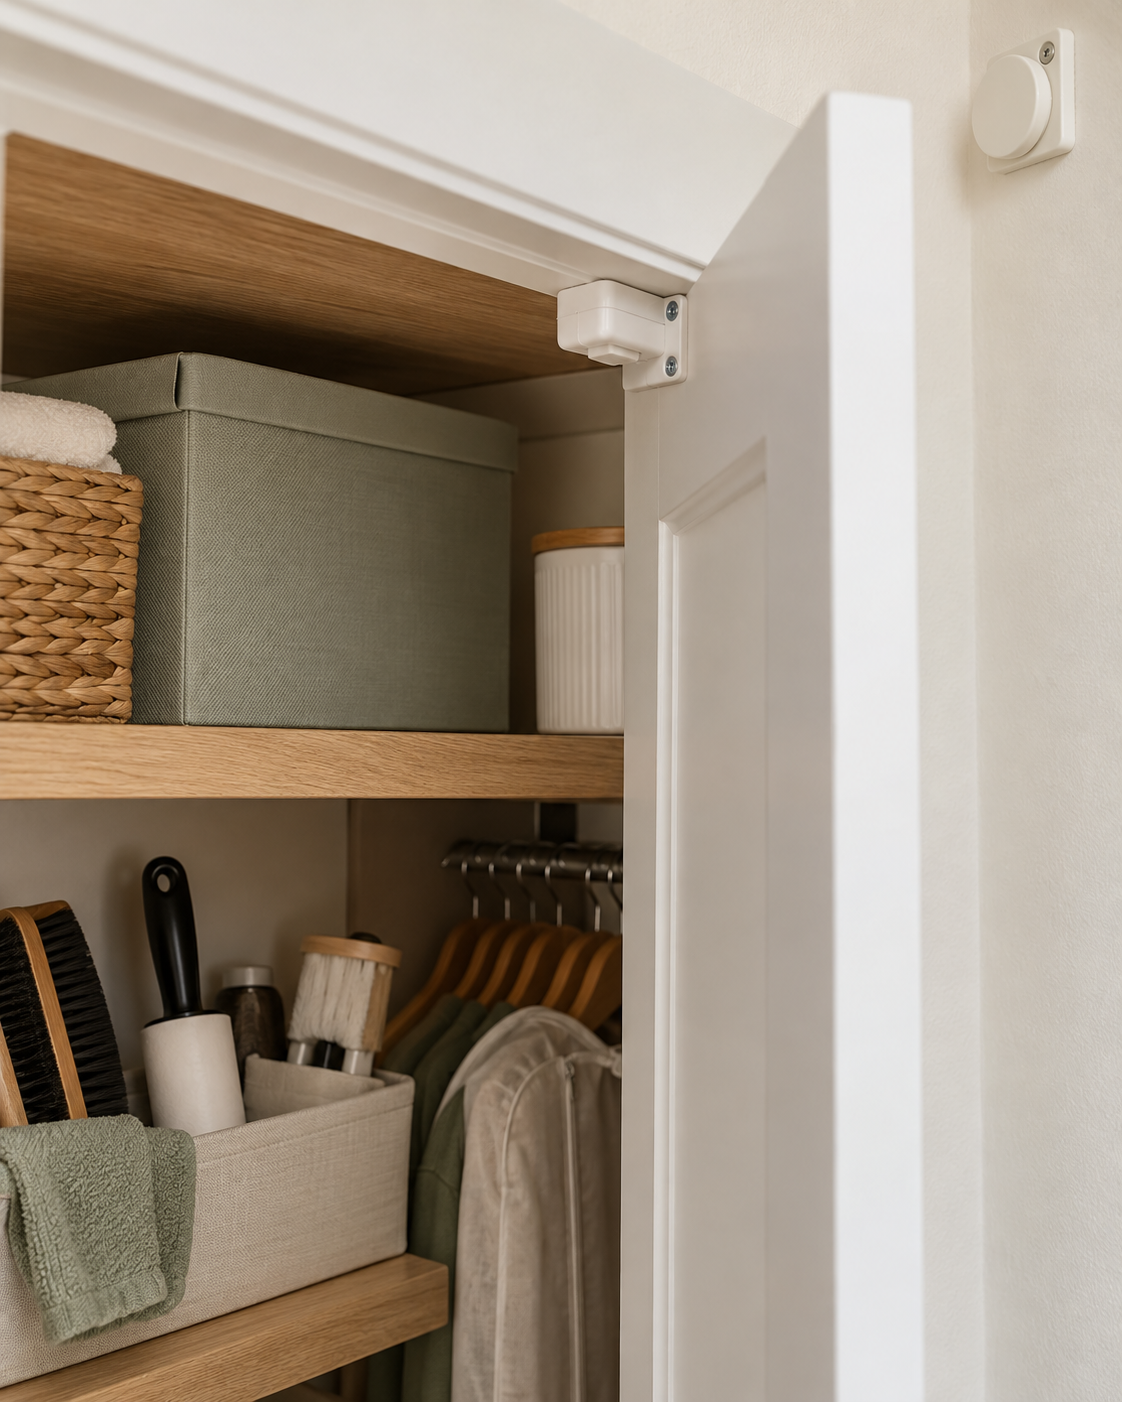
Easy access should work for the adults using the closet without making cleaning products accessible to children or pets. Plan secure storage into the layout from the start.
Use a suitable locked cupboard or secured closet and follow the product labels. Do not rely on a high shelf alone, and keep products in their original containers with their warnings intact.
Check the security again whenever the contents or household needs change. A new door organizer should not accidentally move hazardous products into an accessible position.
21. Leave One Small Space Empty
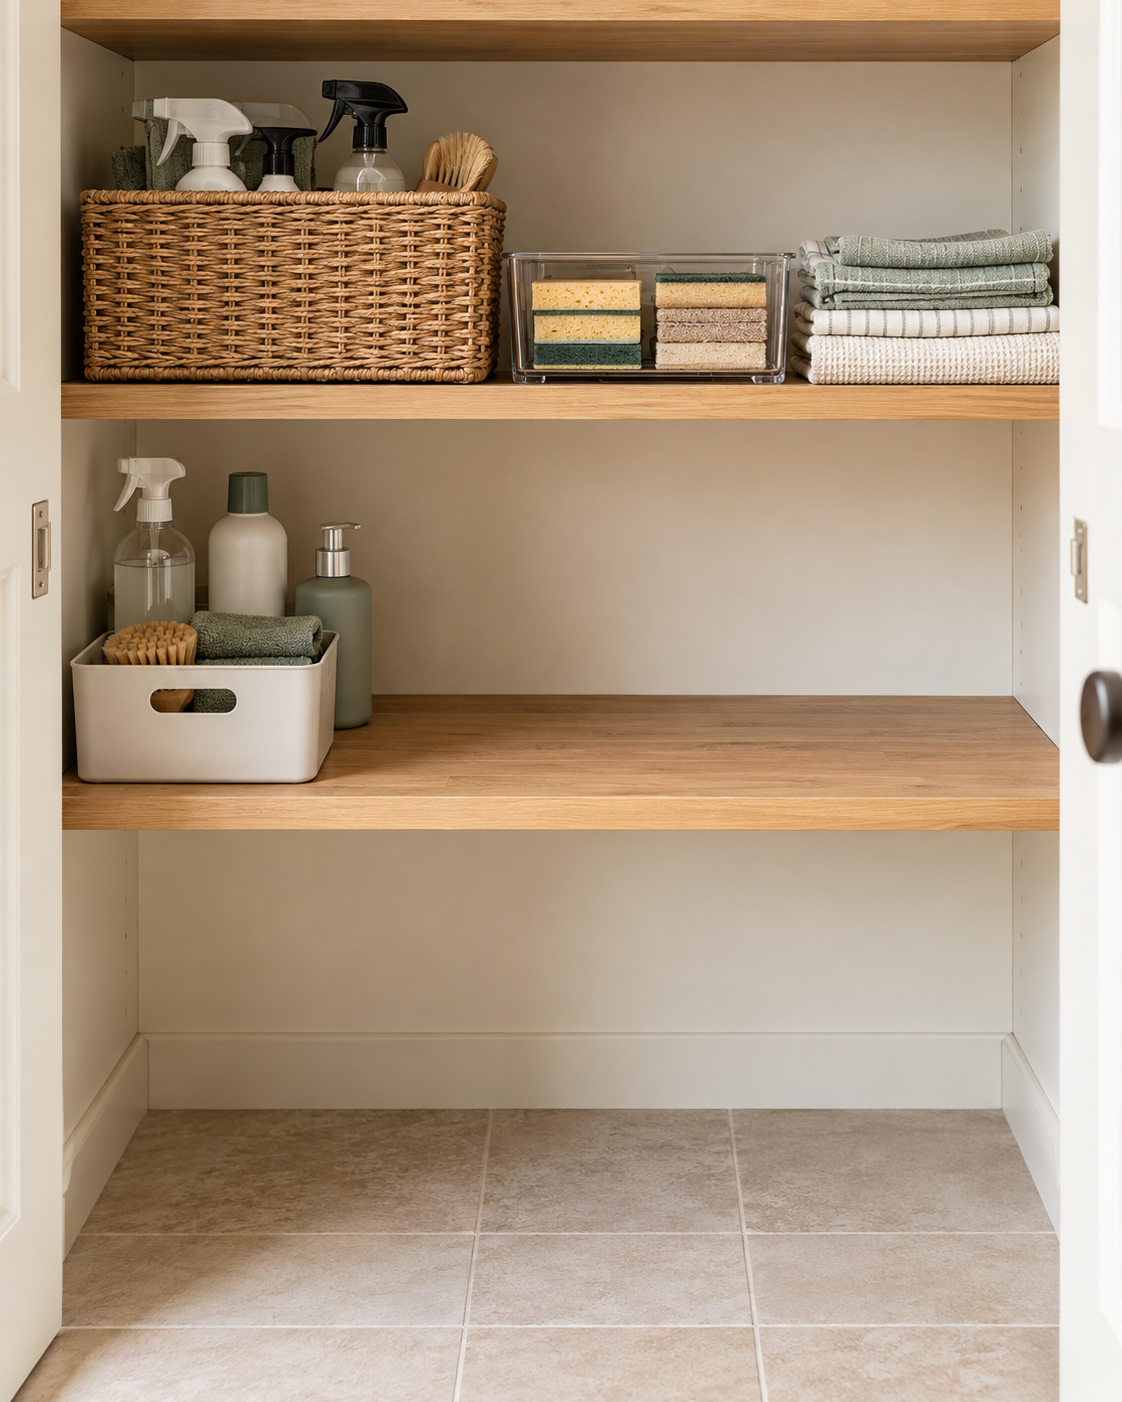
The most useful finishing touch is a little spare capacity. A closet packed to every edge has nowhere to absorb a replacement brush, a different-sized refill or the caddy you are carrying back.
Leave a modest gap on the working shelf and keep the vacuum’s route clear. This breathing room makes putting things away easier without turning the empty space into a permanent overflow zone.
At the end of your cleaning routine, return the caddy, check the floor and straighten the front row. A quick reset is much easier to maintain than a storage system that needs a full rearrangement every weekend.
Utility Closet Organization Tips That Are Easy to Keep Up With
You do not need to buy every organizer at once. Start by clearing a route for the vacuum, giving long-handled tools a secure home and grouping the small supplies you use together.
Try the arrangement through a few normal cleaning days before adding more storage. If everything goes back without lifting, balancing or squeezing another item out of the way, the layout is doing its job.
For another everyday storage project, explore these kitchen drawer organization ideas.