The best decluttering tips give you somewhere to start and a result you can actually enjoy. Maybe that’s a welcoming hallway where your keys are easy to find, a kitchen drawer that opens without a fight, or a wardrobe where you can see the clothes you love wearing. You don’t have to tackle the whole house to get that feeling.
Start with one small area, decide what deserves to stay, then make it easy to put those things away. The ideas below pair manageable jobs with storage that can help the result last. Use boxes, trays and baskets you already own first; you’ll have a much better idea of what to buy once you know what you’re keeping.
As an Amazon Associate I earn from qualifying purchases.
Images are AI-generated home inspiration. Selected SHOP SIMILAR links let you browse similar organisers; check sizes and materials before buying.
1. Clear the first surface you see when you come home

Start with the hallway console, the shelf beside the front door or whichever surface greets you first. It’s a small place with a lovely payoff: you notice the difference every time you walk in. Keep the job to that one surface so it doesn’t turn into a tour of everything that needs doing.
Remove the post, loose coins and things waiting to go upstairs, then put back only what belongs there. A tray for keys and glasses gives the little daily essentials a clear home. If you enjoy a vase or small lamp, leave room around it so the surface feels intentional and is easy to wipe.
Choose a tray that suits the amount you actually carry through the door, rather than a large one that invites more things to join it. An existing dish works perfectly well while you test the arrangement. Finish by returning the displaced items to their proper rooms, instead of hiding them in the console drawer.
2. Set a timer and finish one drawer

Choose a drawer you use often and give it a short, manageable time slot. Ten or fifteen minutes is a useful starting point if that fits your day. Leave a few minutes at the end for returning the keepers and dealing with what’s leaving, so the task ends with a usable drawer.
Take out obvious rubbish, test pens and group the remaining items before deciding what goes back. Keep everyday scissors, tape and other useful bits together, and move unrelated items to their actual homes. You don’t need to organise every drawer in the kitchen just because you’ve started one.
Shallow modular trays can stop small things sliding into one heap again. Measure the drawer’s inside height and choose a few sizes around the items you’ve kept. Our kitchen drawer organization ideas have more examples if you want to carry the same approach into another drawer later.
3. Give each item a destination before you make piles

Set out three ordinary boxes or clear areas: keep here, put away elsewhere and donate. Keep rubbish and recycling separate. Knowing where an item is going makes the process feel much less muddled, especially when you’re sorting a surface that has collected a little bit of everything.
Work on a small enough area that you can finish the decisions in one session. A borrowed book needs to go back to its owner; a cardigan belongs in the wardrobe; a useful notebook might stay on the desk. Check with anyone else whose belongings you’re sorting before deciding something should leave.
Cardboard boxes are ideal for this job, so there’s no need to buy sorting equipment. Empty the relocation box before you stop, put the keepers back and give the donation box a next step. The aim is to reduce the number of loose ends in the room, not create several beautifully named new piles.
4. Shop your own wardrobe before adding storage

Pick a manageable clothing category, such as everyday tops, and bring those pieces together. You’ll often spot duplicates, forgotten favourites and things that don’t suit your life now. Try uncertain items on when you have the time, rather than keeping everything because it might work someday.
Return the clothes you use and enjoy, leaving enough space to slide them along the rail. Matching slim hangers can make the collection easier to browse, but use shaped or padded hangers for garments that need support. Fold heavy knitwear so it keeps its shape, and set aside anything that needs repair with a realistic plan.
The satisfying part is seeing what you own without rummaging. A couple of shelf baskets can hold smaller categories if needed, but measure first and avoid packing every gap. Let the edited wardrobe show you whether you need extra storage at all.
5. Edit one pantry shelf before decanting anything

Start with a single shelf and check dates, opened packets and duplicates. Keep food you’ll use, deal with anything unsuitable and bring items that need using sooner to the front. If a sealed item is going to be donated, check the receiving organisation’s acceptance rules first.
Group food around how you use it: breakfast things together, baking ingredients together or a small snack section. Most packaging can stay exactly as it is. Clear handled bins make those groups easy to pull forward without requiring a matching jar for every ingredient.
Choose bins that fit the shelf depth and allow comfortable access above them. Avoid transferring food into containers unless the material is suitable and you can keep the necessary labels, dates and allergy information. For a family-friendly example, browse our snack pantry organization ideas.
6. Keep daily toiletries together and move the extras

The bathroom counter often fills up because daily products, occasional treatments and unopened spares all live together. Separate those groups first. Keep the things you reach for each morning close to the sink, with suitable spares in a cupboard or drawer rather than arranged around the tap.
Check labels for expiry and period-after-opening guidance, and be honest about the products you’re no longer using. Put usable items back where they make sense in your routine. A clearer vanity feels good, but it should still be convenient when you’re half awake and looking for your face wash.
A small turntable can make a few bottles easier to reach without knocking everything over. Check its diameter and stability, keep heavy bottles balanced and wipe underneath regularly. Our bathroom organization ideas show other ways to group the things you use every day.
7. Give incoming paper one place to land
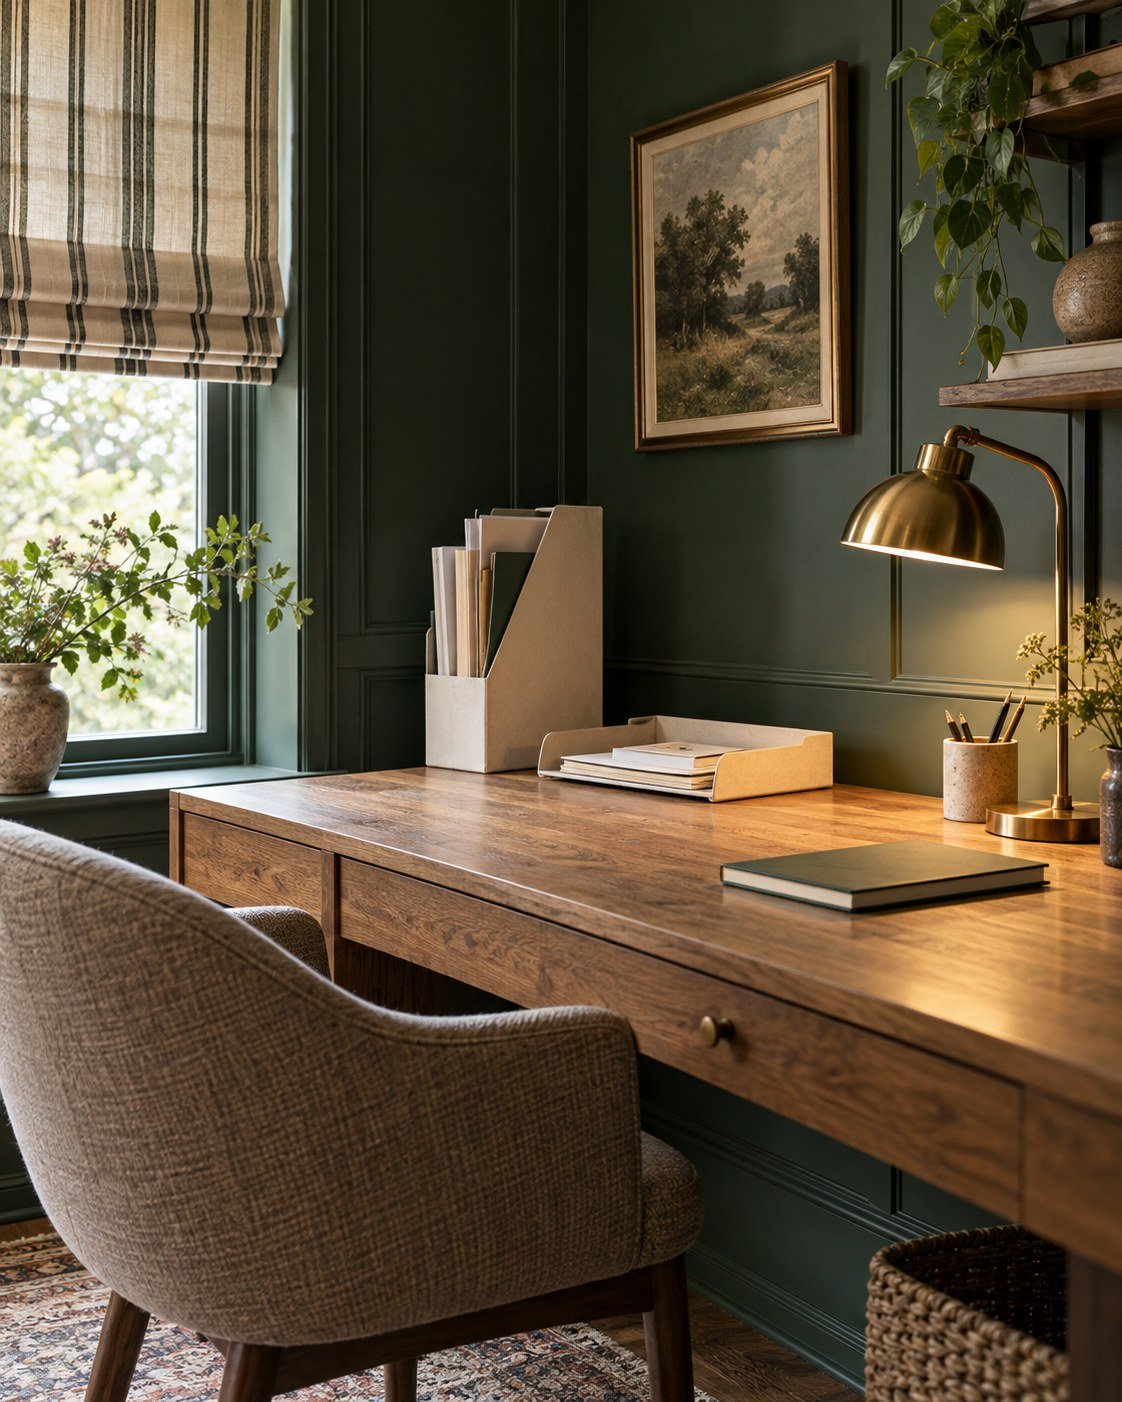
Gather the loose post and papers from your chosen room, then make decisions one small stack at a time. Recycle obvious junk according to local rules and set aside anything private for suitable disposal. Important records need a proper review rather than a quick guess about what looks old.
Keep papers that need action separate from papers you’re keeping for reference. A shallow incoming tray and one upright file can make that distinction visible on a small desk. Choose a regular time to deal with the action pile, whether that’s paying a bill or adding a date to your calendar.
Keep the system simple enough that you’ll use it when you’re busy. If a tray is overflowing, process what’s there before adding another tier. A paper home works because decisions keep moving through it, not because the containers hide the pile.
8. Turn the cleaning cupboard into a useful station
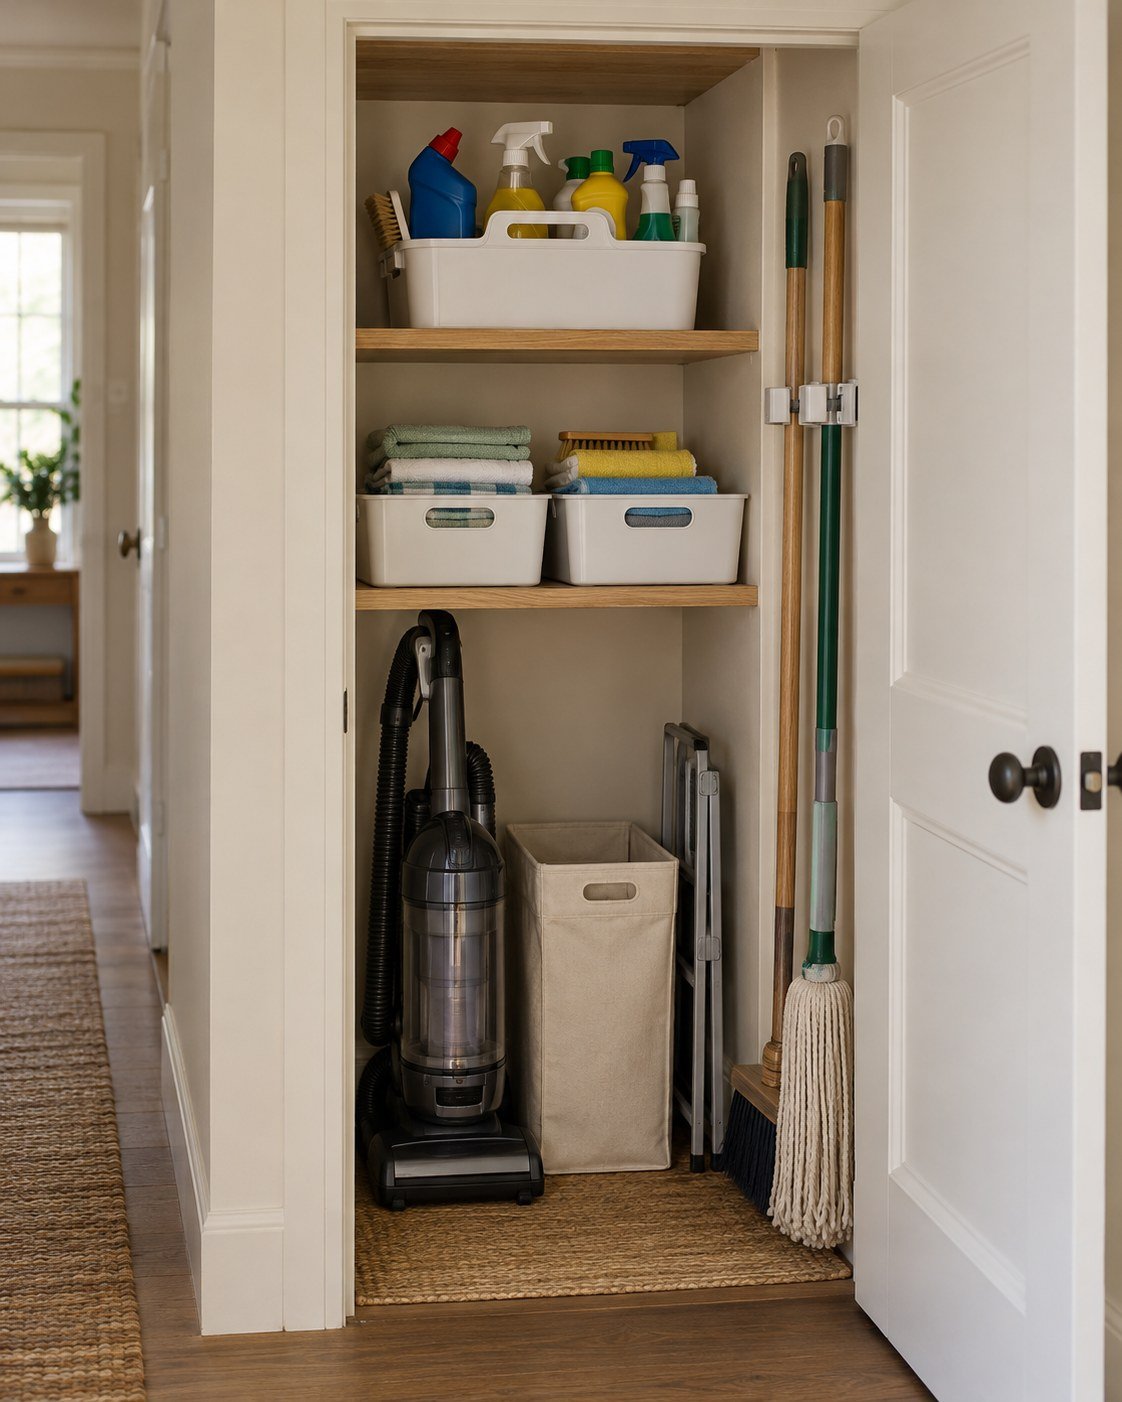
Open the cleaning cupboard and take stock before buying another spray or sponge. Work through one shelf at a time, identifying empty containers, unnecessary duplicates and tools you no longer use. Follow the label and local disposal guidance for unwanted cleaning products rather than pouring them away.
Keep products in their original labelled containers, upright and separated from food. Store them safely out of reach of children and pets, following any specific storage instructions. Group a few compatible everyday supplies in a caddy so you can carry what you need instead of emptying the cupboard each time.
A handled caddy, a small cloth bin and a secure home for the mop can make the whole area easier to use. Choose these around your actual supplies and cupboard dimensions. Our utility closet organization ideas have more layouts for awkward shelves and long-handled tools.
9. Let one container set a limit for a small category
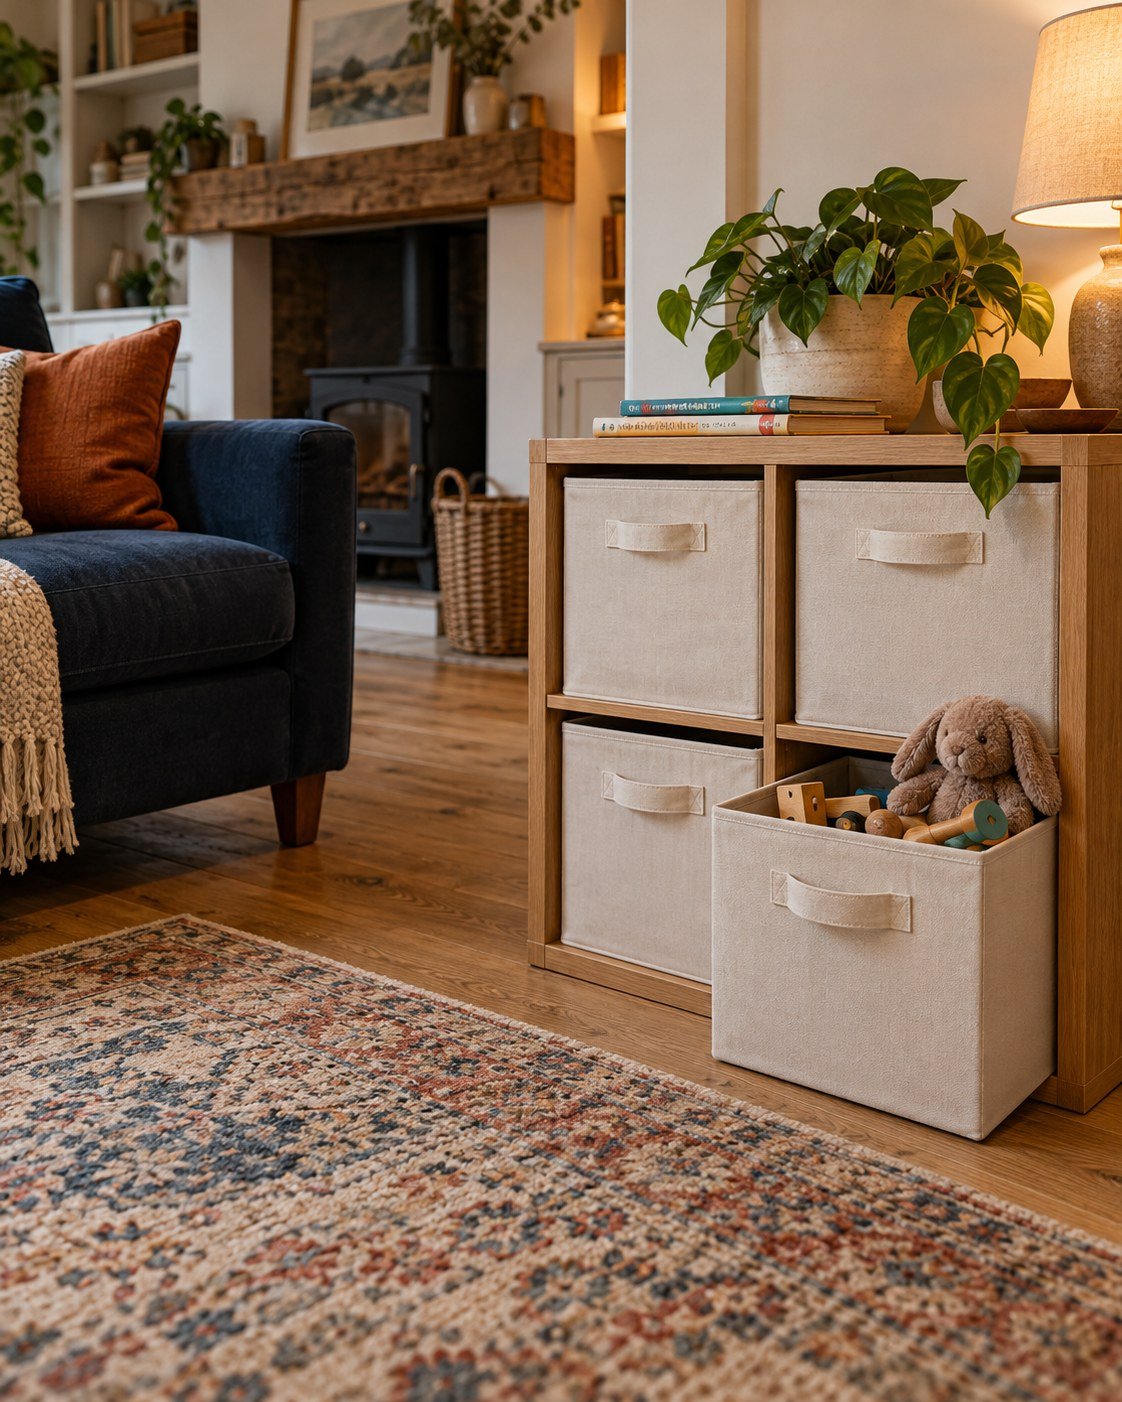
Choose a category that keeps spreading, such as living-room toys, spare throws or craft supplies. Decide where it will live, then put your most-used items back first. A defined space makes it easier to notice when a collection has grown beyond what your room can comfortably hold.
For children’s toys, sort with the household’s routines in mind and involve children where appropriate. Keep favourites accessible and decide together what to rotate, pass on or store elsewhere. The goal is an easy-to-use collection, with room to take something out and return it without a struggle.
Fabric cube bins can give a low shelving unit a tidy finish and make small categories easy to lift out. Check the shelf opening and choose manageable loads. When the bin gets too full, review what’s inside before buying another unit; storage works best when you can still find the things you want.
10. Finish the donation job while you have momentum

Put good-condition items you’re ready to let go of into one manageable box or bag. Choose somewhere convenient that keeps doorways and walking routes clear. A small box you can comfortably carry is more likely to leave than an enormous one that needs another person to lift it.
Check where the items can go and what the donation point accepts. Some organisations have limits on electrical items, books or particular household goods. If something isn’t suitable for donation, find the appropriate reuse, recycling or disposal route instead of passing the problem on.
Pick a realistic drop-off day and add it to your calendar, ideally alongside a journey you already make. Keep the destination clear so the box doesn’t settle into the hallway permanently. Getting it out of the house is the part that turns the sorting session into finished progress.
11. Save sentimental decisions for a quieter session

You don’t have to begin with photographs, family letters or the clothes that bring back a hundred memories. Start with easier everyday categories and return to sentimental things when you have the time and energy to give them attention. There’s no prize for choosing the hardest box first.
When you’re ready, review a small group rather than every keepsake in the house. You might display a favourite, keep a few items together or photograph something bulky before deciding its future. Keeping a meaningful object is a valid decision; the useful question is how you want to look after it.
Bring treasured items together somewhere dry and easy to find. For irreplaceable photographs or documents, use storage materials suited to their preservation rather than assuming a decorative box will protect them. A smaller, considered collection can feel more special because you can actually enjoy what’s there.
12. End with a short put-away round
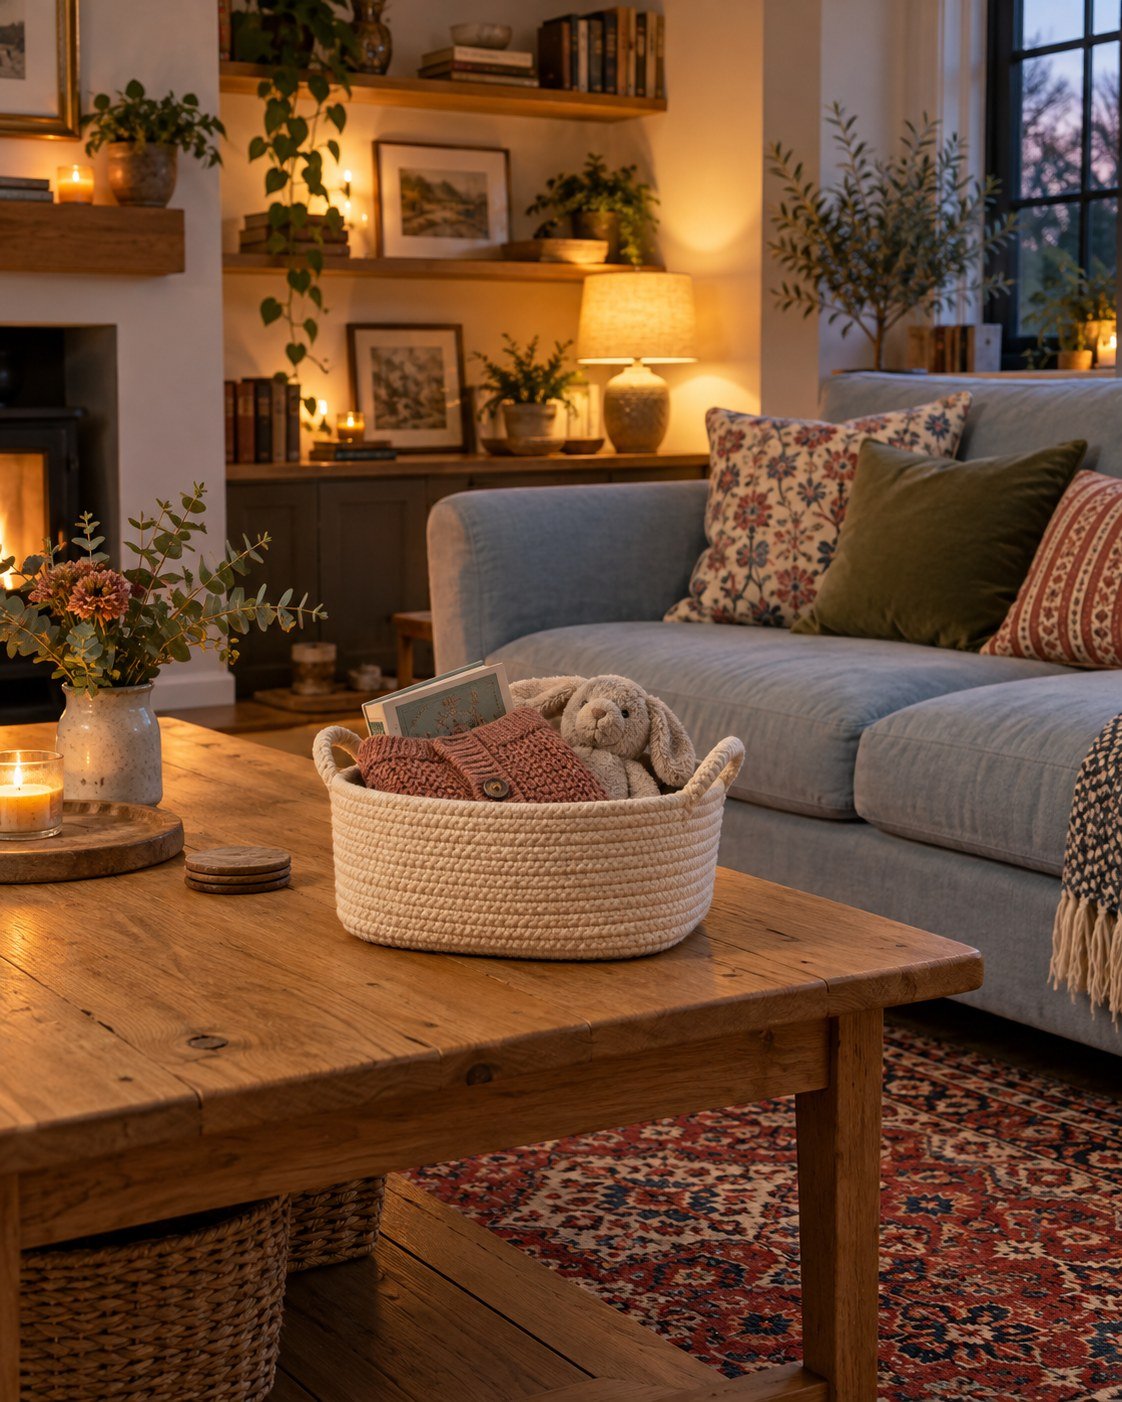
Before you stop, gather the things that belong in other rooms and return them in one round. Take the rubbish and recycling to the appropriate household bins, and put donation items in their agreed place. This closes the session so the room feels better immediately.
A small handled basket is useful for a book, cardigan or stray toy while you walk around. Empty it at the end rather than leaving it beside the sofa as a new holding area. Keep it light and manageable, and return shared belongings to places everyone can find.
Choose the next small area you’ll tackle, then let yourself enjoy the result you’ve already made. Whole house decluttering can happen through ordinary sessions like this. A clearer coffee table, a useful drawer and an easy morning routine are all worthwhile progress.
Your first-session decluttering checklist
- Choose one small area you can finish.
- Remove obvious rubbish and recycling.
- Decide what stays, moves elsewhere or leaves.
- Group the keepers before choosing storage.
- Put away the relocation pile and plan the donation drop-off.
- Enjoy the cleared space, then choose your next small job.
Start with the spot that makes today easier
If you’re wondering how to declutter your home, begin with the place that causes a little frustration every day. Make that one spot easier to use, then build on it when you’re ready. These decluttering ideas are here to help you enjoy your home more, one useful change at a time.